The late summer garden was very productive. I harvested tons of tomatoes, cut lots of flowers, and finally saw my first few cucumbers and summer squash.
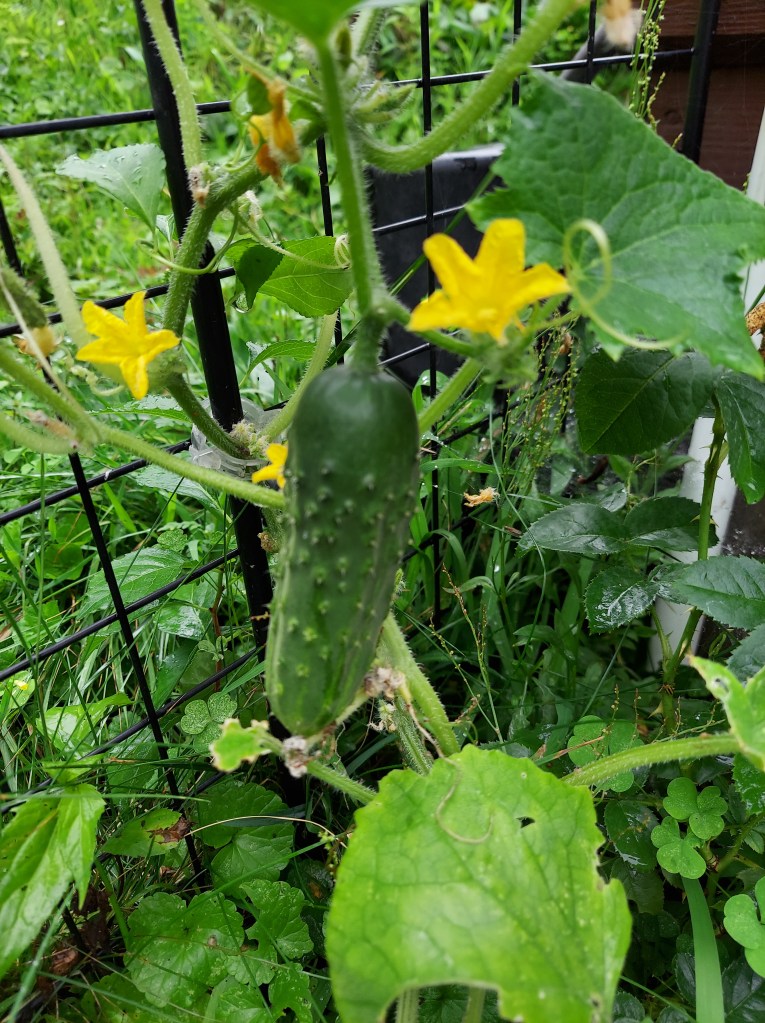
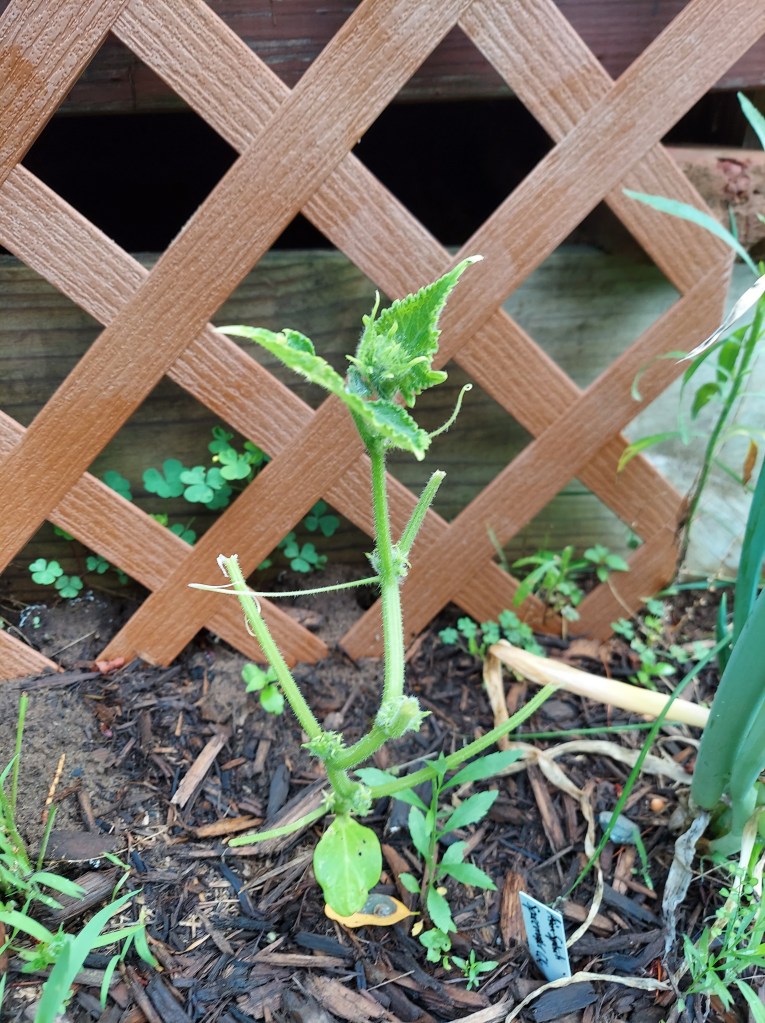
The first cucumber finally arrived on the outside plant in early August, the greenhouse plants followed a couple weeks later. I lost several outdoor plants to the woodchuck, but this one survived by being right next to the rose bush.

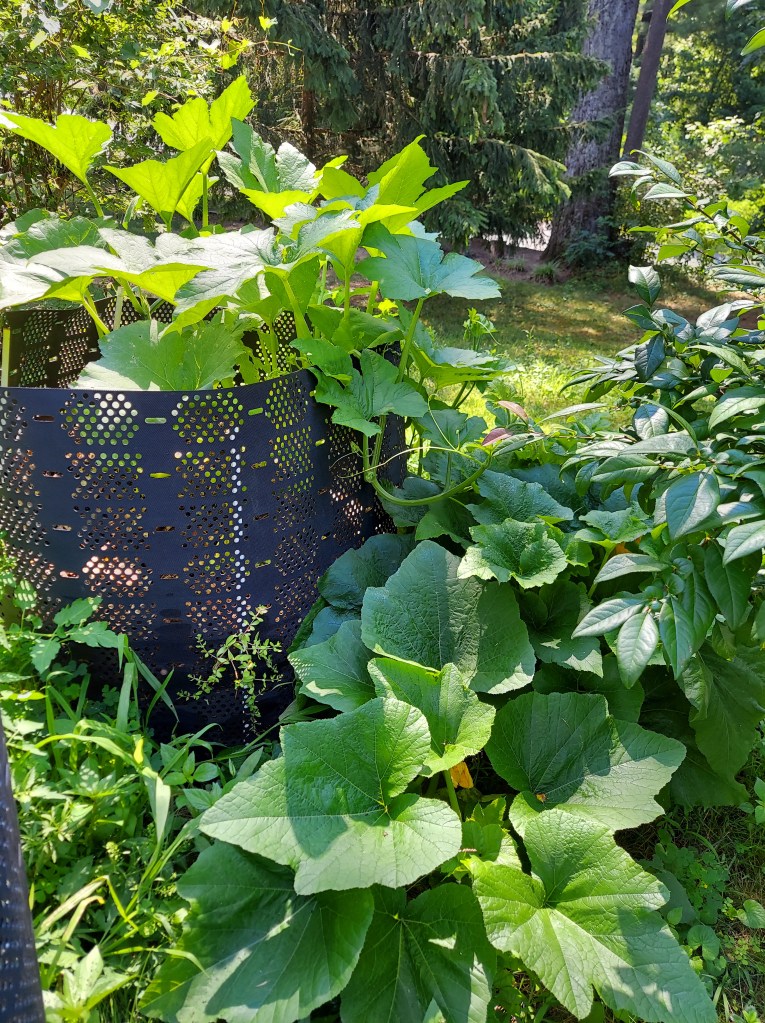
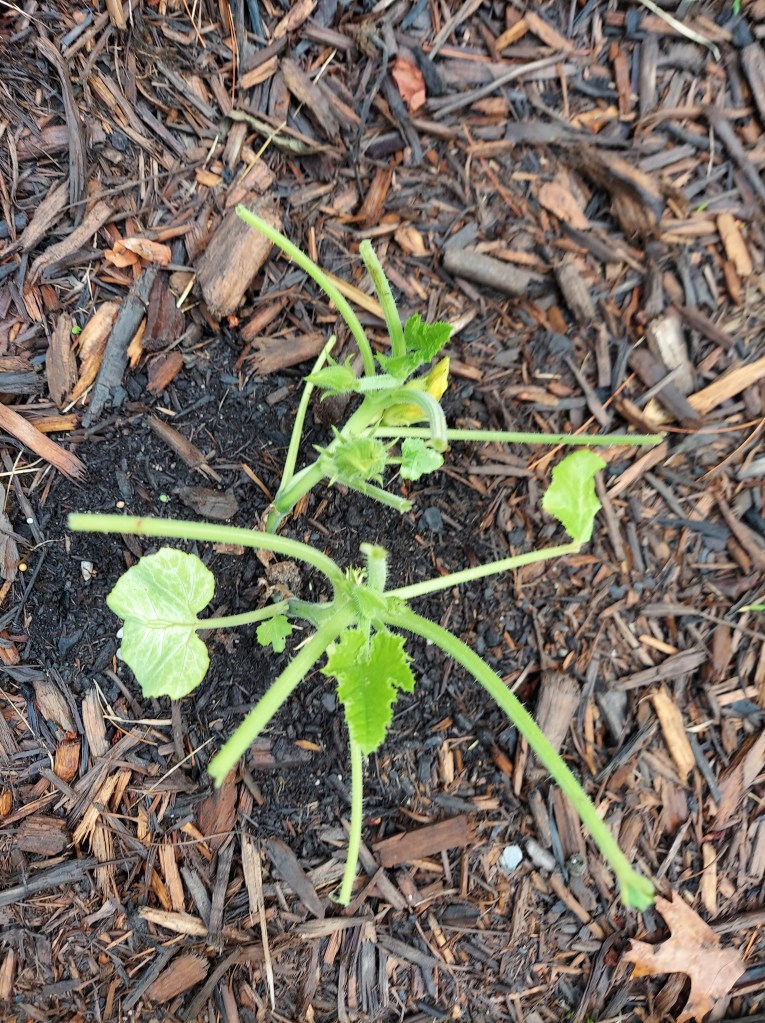
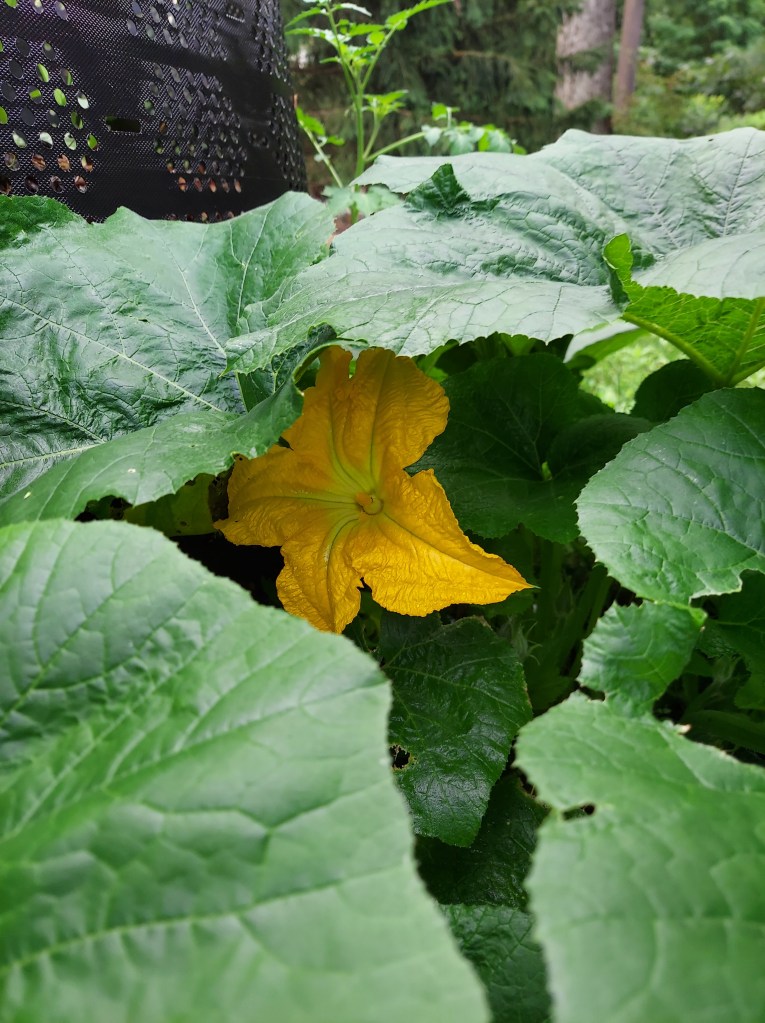
Pumpkin fruit also finally made an appearance in August. The huge vines growing from the compost pile put out female flowers at last. By the end of the month there were three growing, and one was almost ready to harvest.
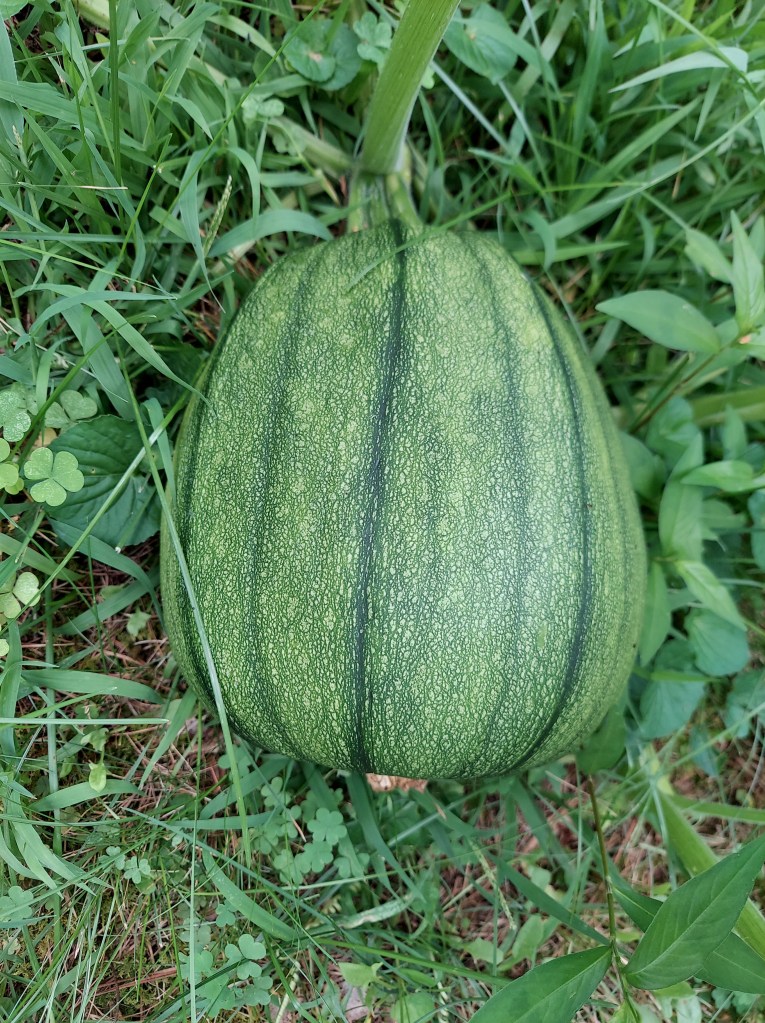
I’m still waiting on this massive jack-o-lantern to fully ripen, but it is getting close. It’s about a foot in length and is currently mostly orange. There are still a couple weeks til the frost, so I may give it all that time.

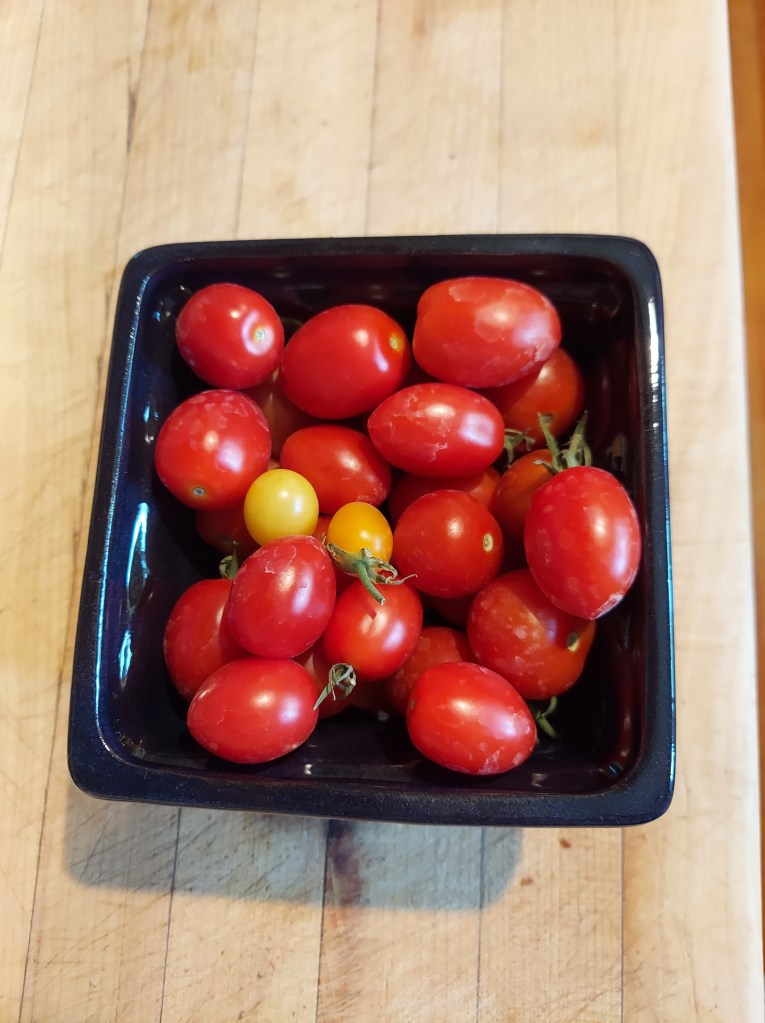
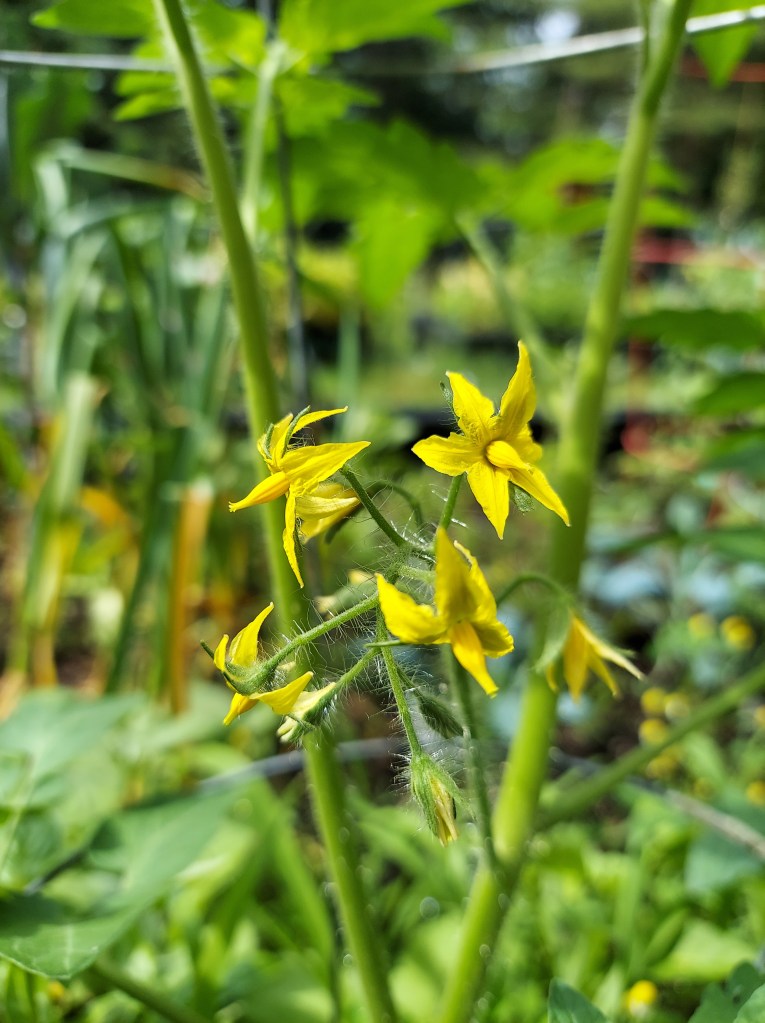
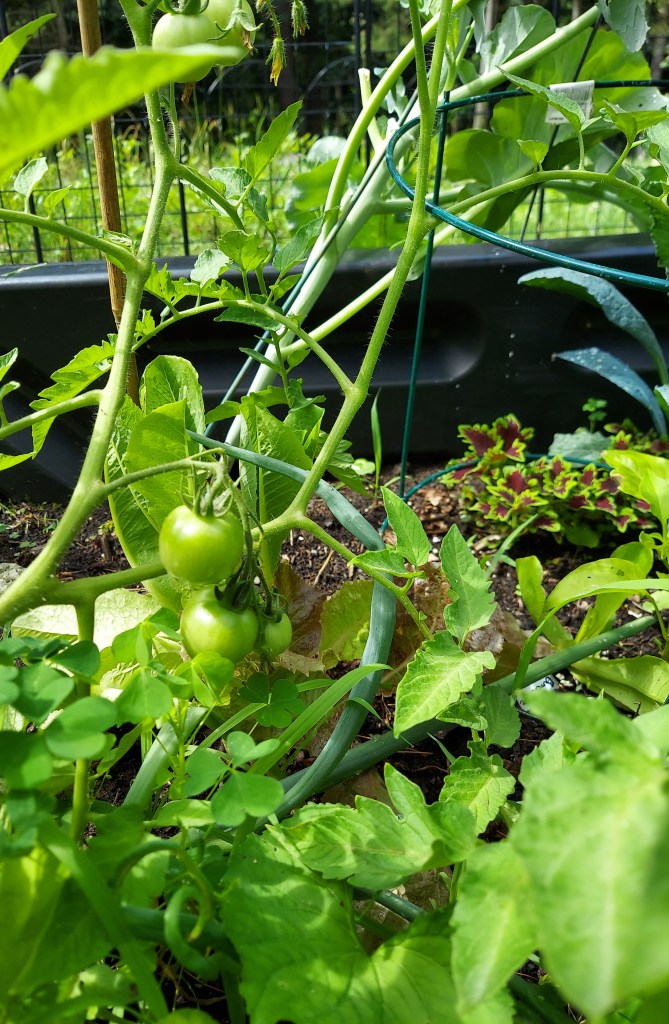
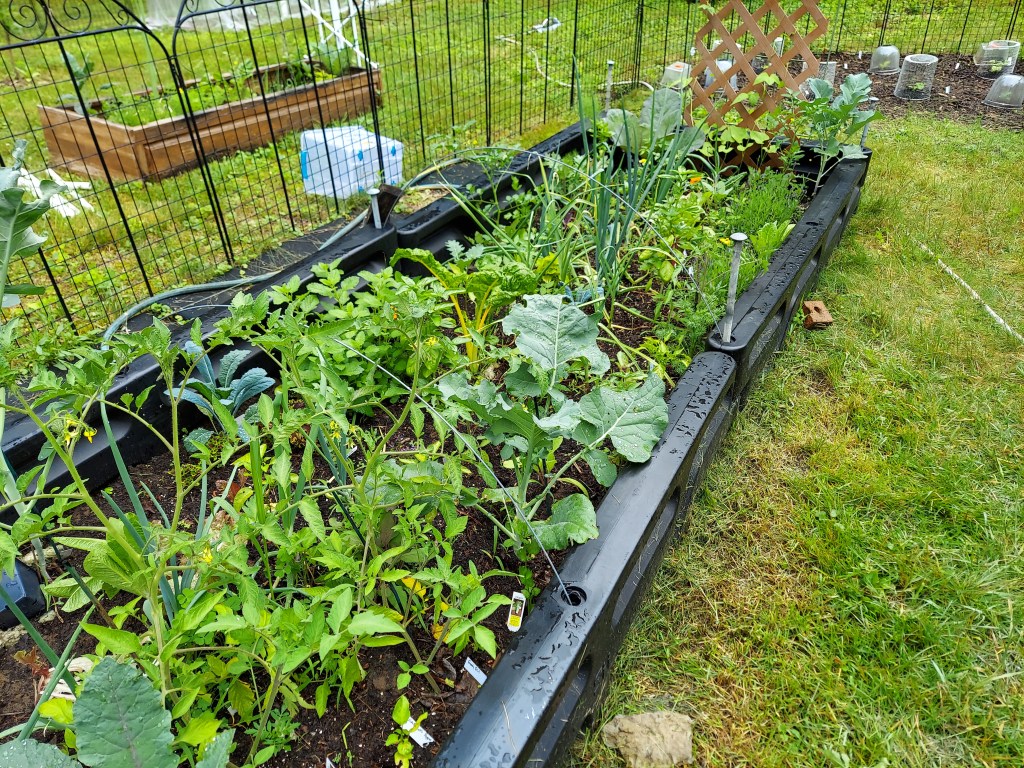
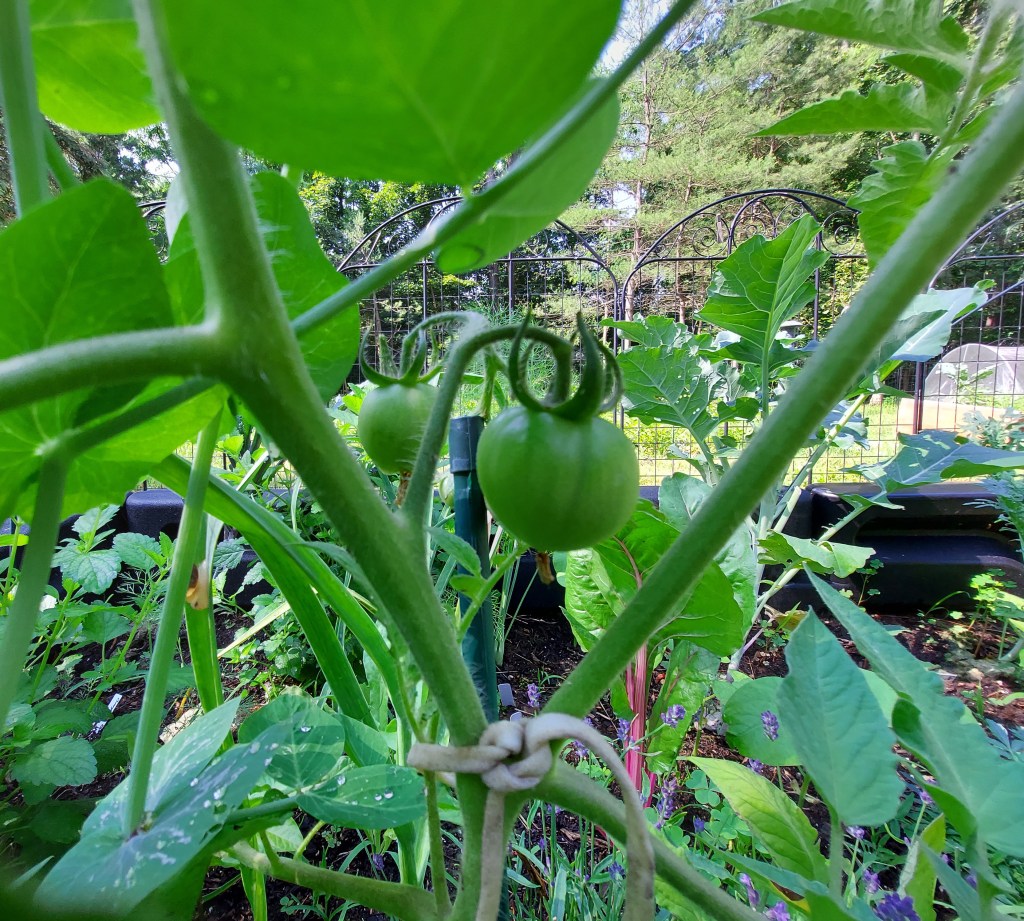
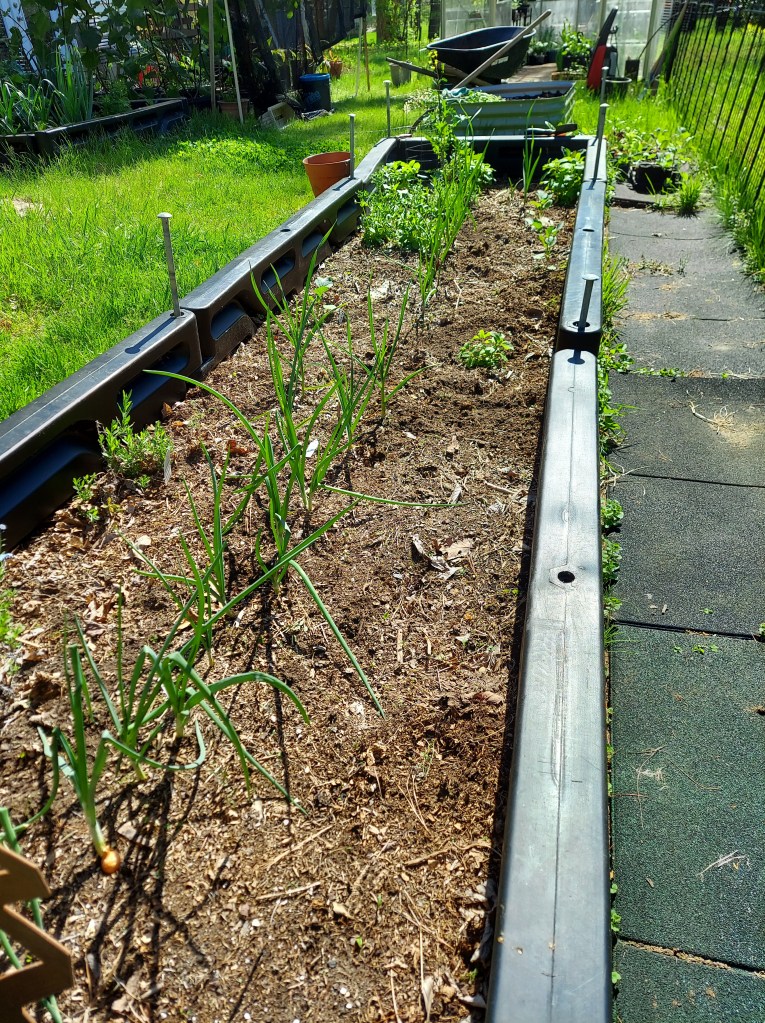
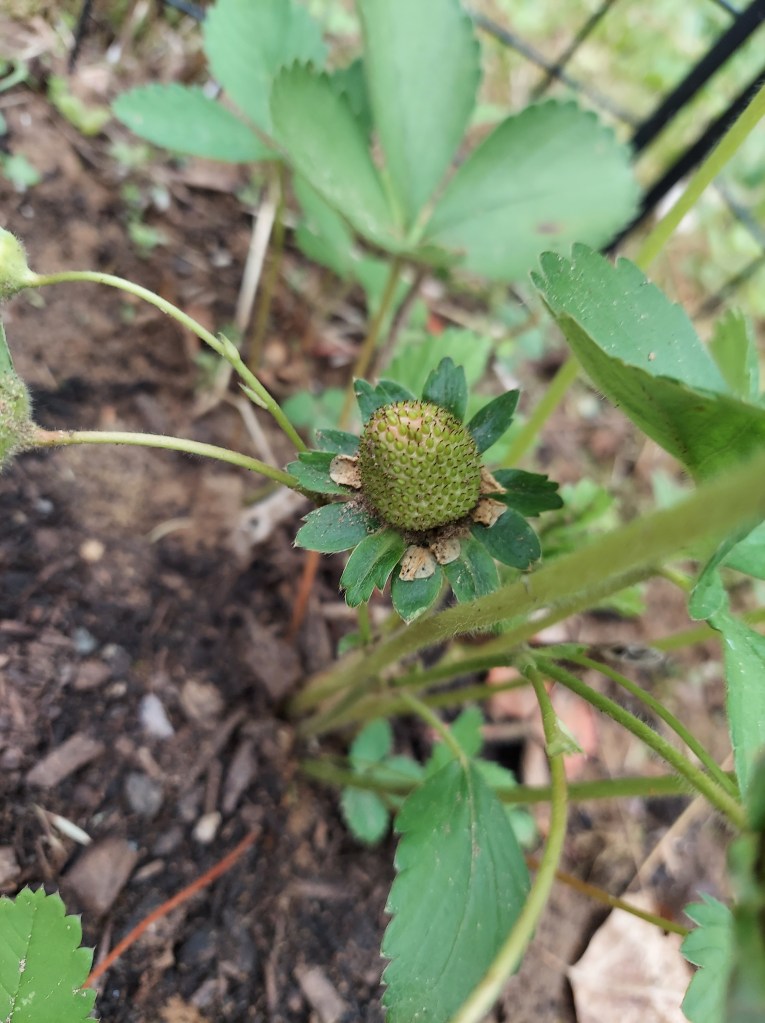
This was the year that tomato plants took over. I planted a nice selection, and then freebie plants kept popping up all over from my homemade compost. Most of them were cherry tomatoes, and I removed a few but let most of them just do their thing. I’ve now harvested over 40 pounds of tomatoes, and don’t want to process any more of them. I made many batches of pasta sauce and gave a bunch away to friends and family.
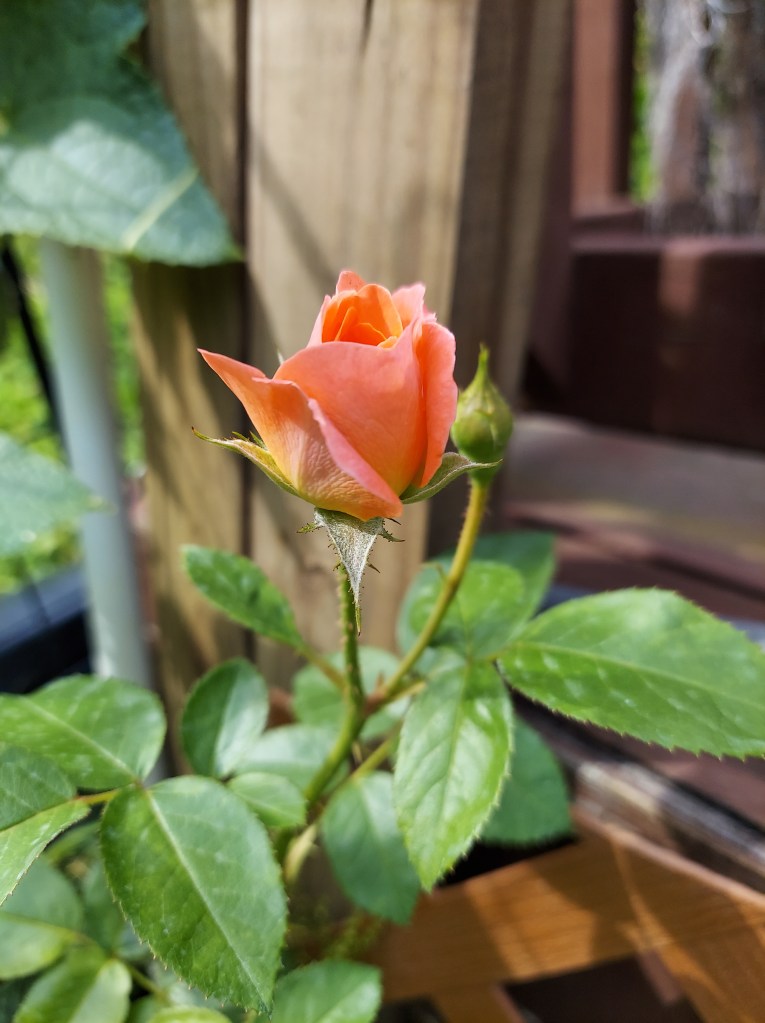
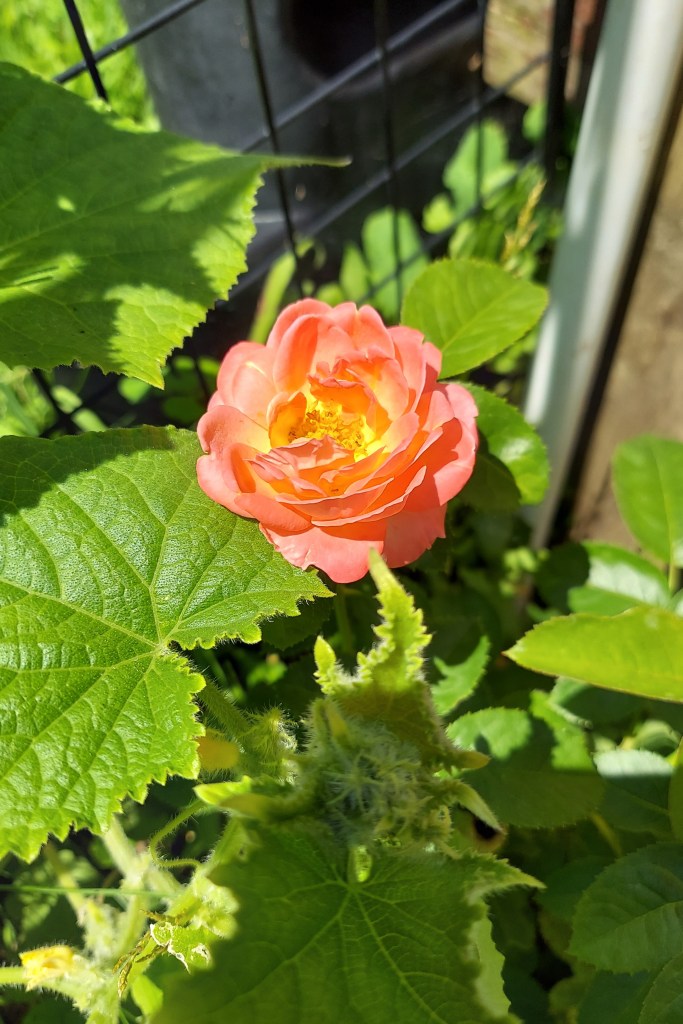
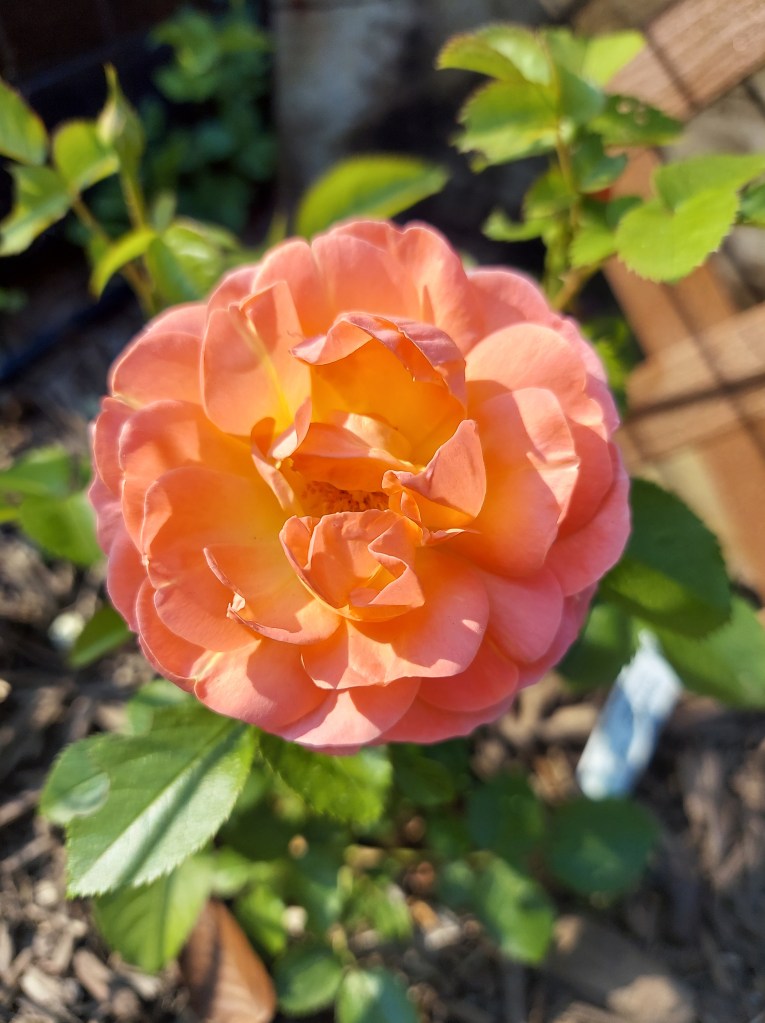
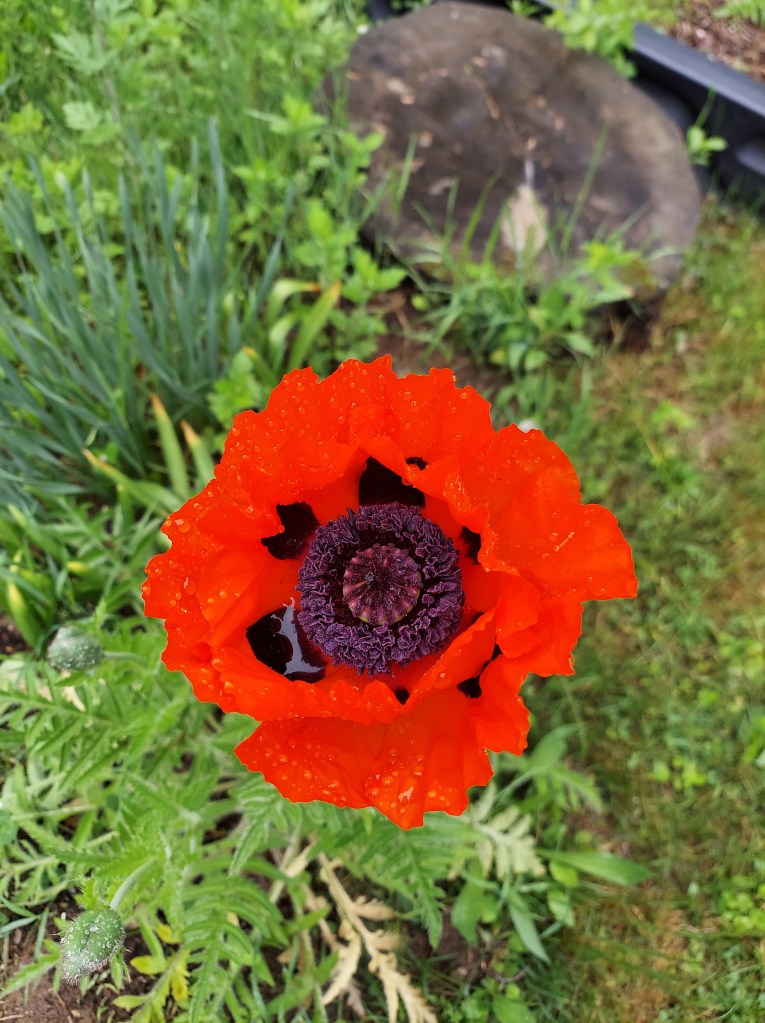
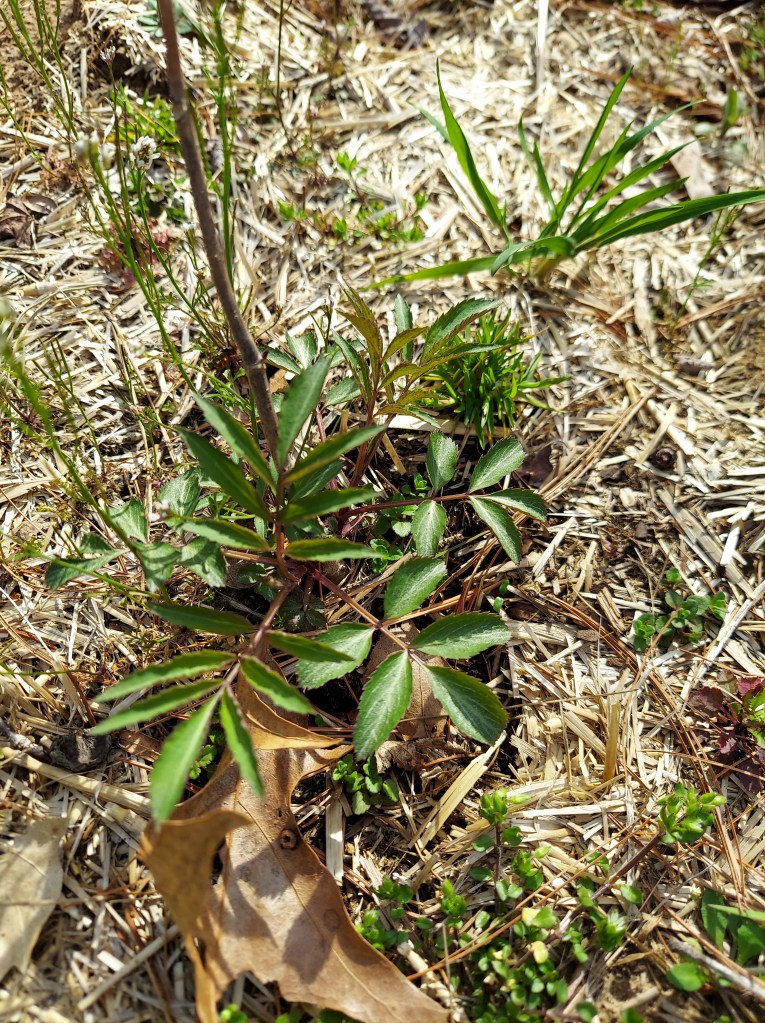
I struggled with several types of plants this year, but thankfully most of the flowers did really well. This new rose bush put out several very pretty flowers, and I’m excited to see how much larger and established it will be for next year. It was a clearance purchase at the end of last season and was only about 4 inches tall when I planted it. One stem put on over a foot of growth this year.
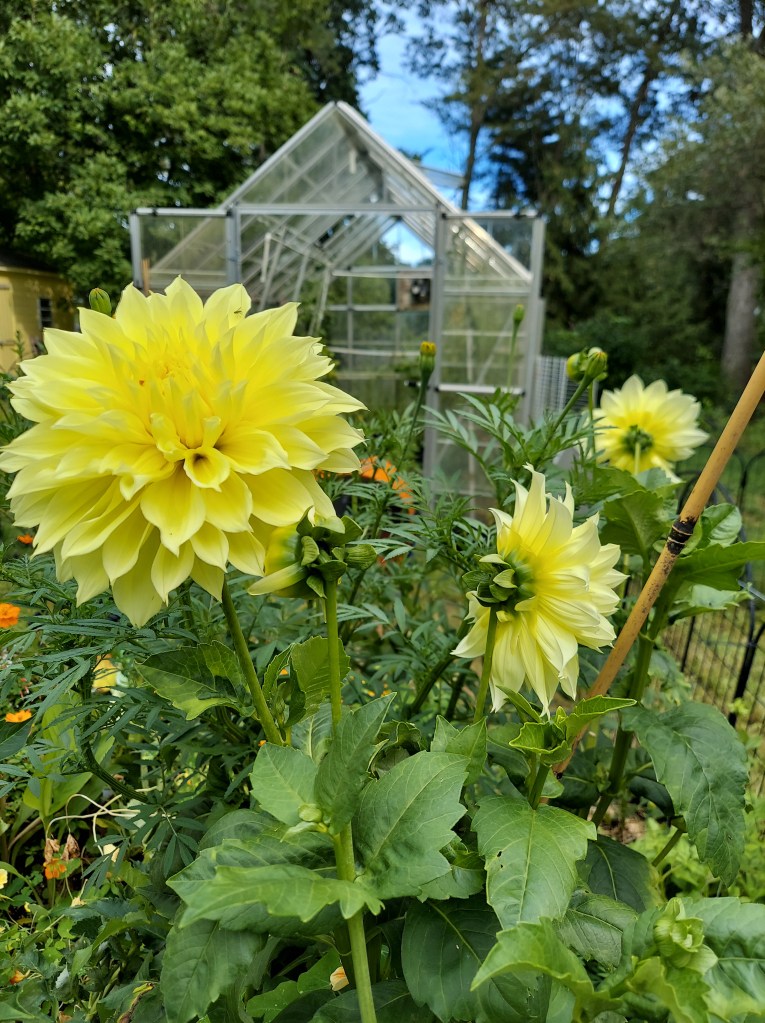
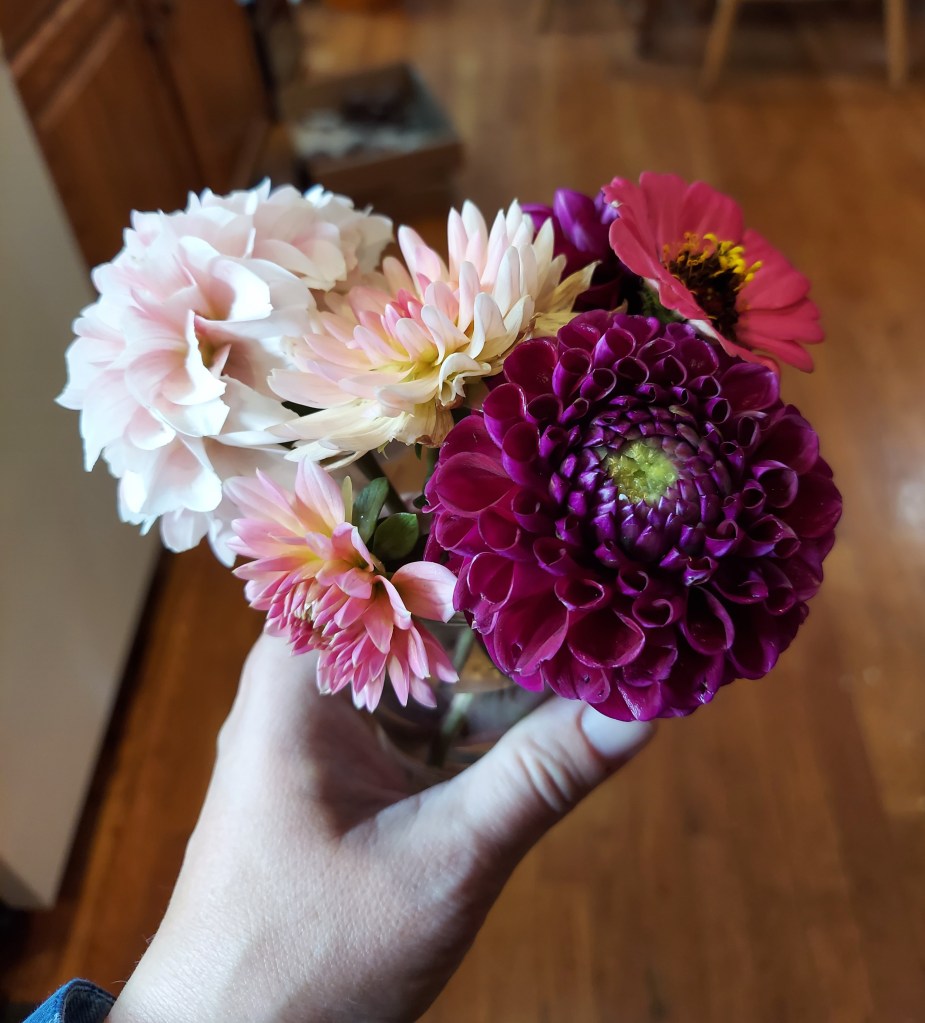
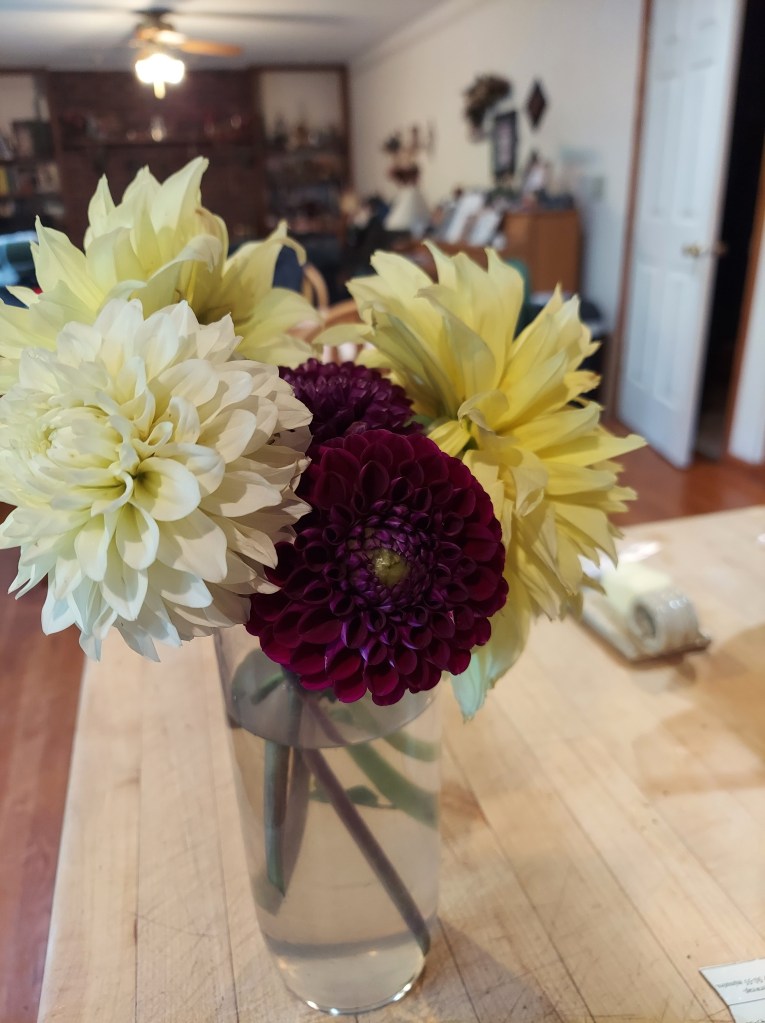
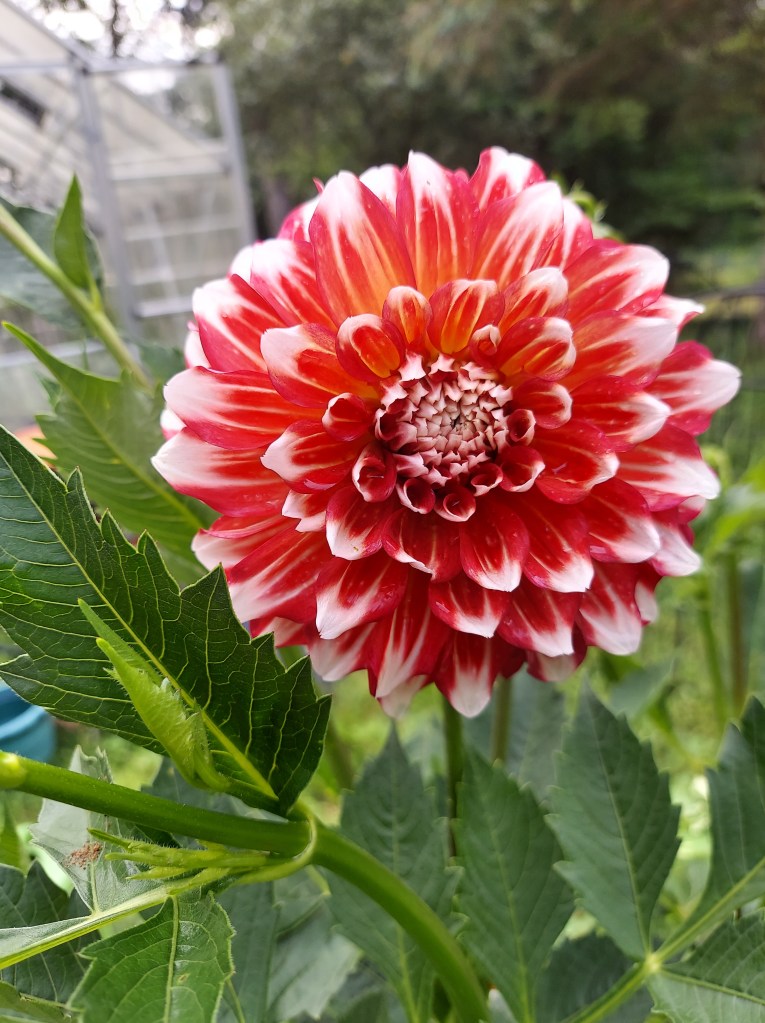
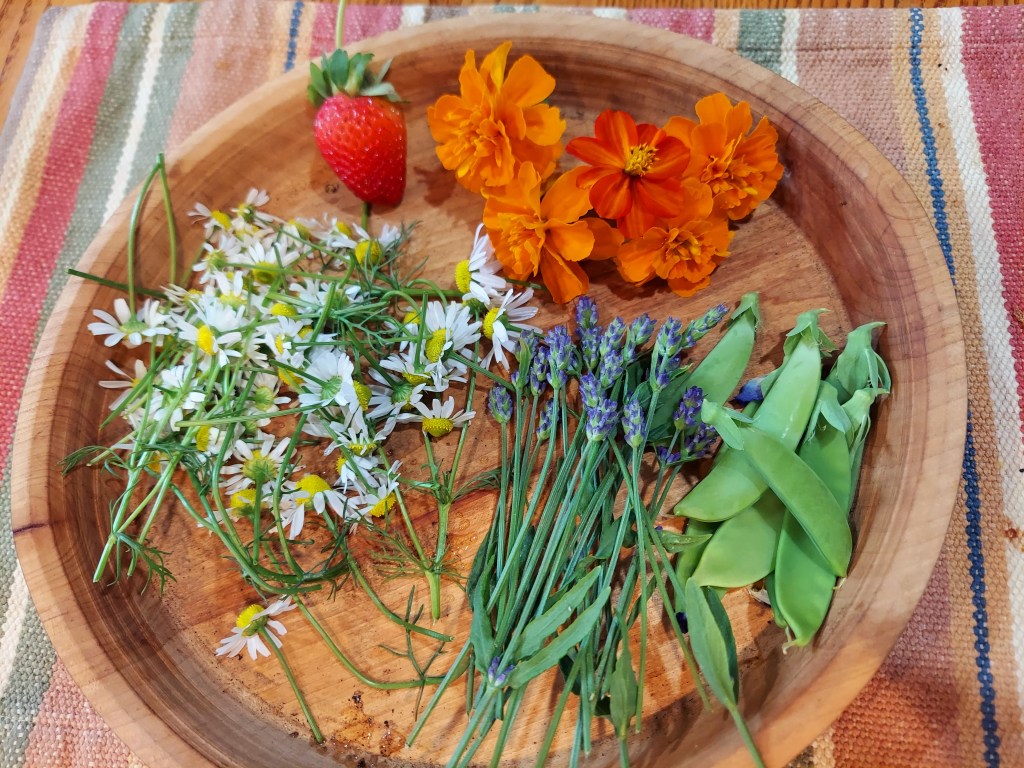
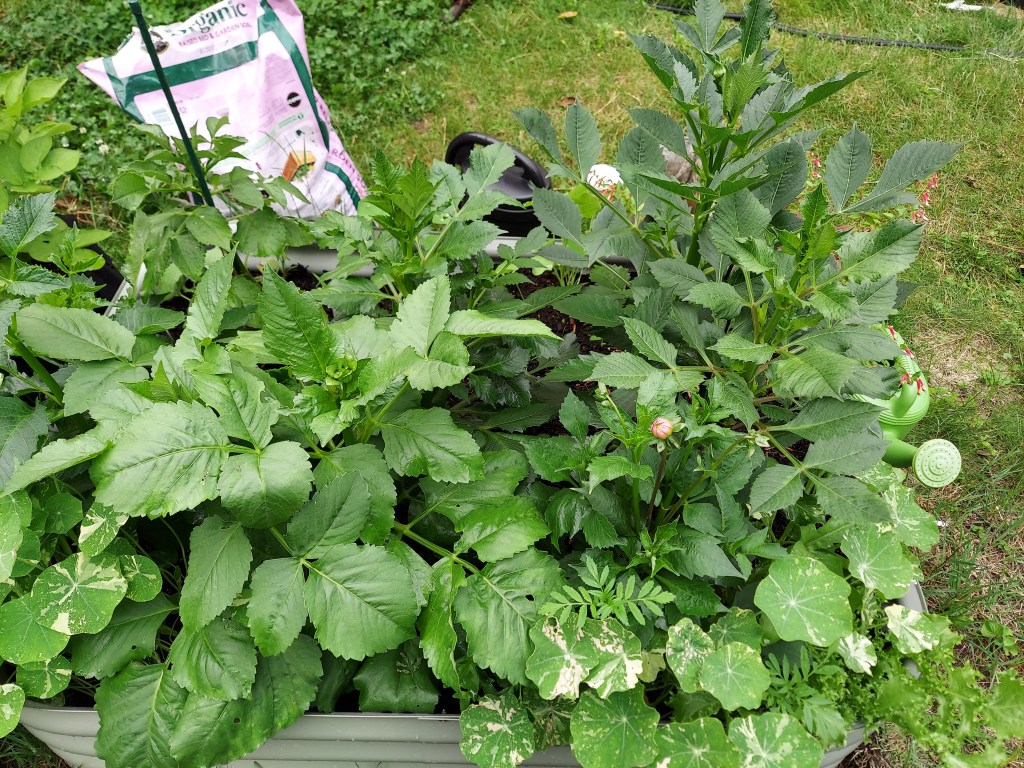
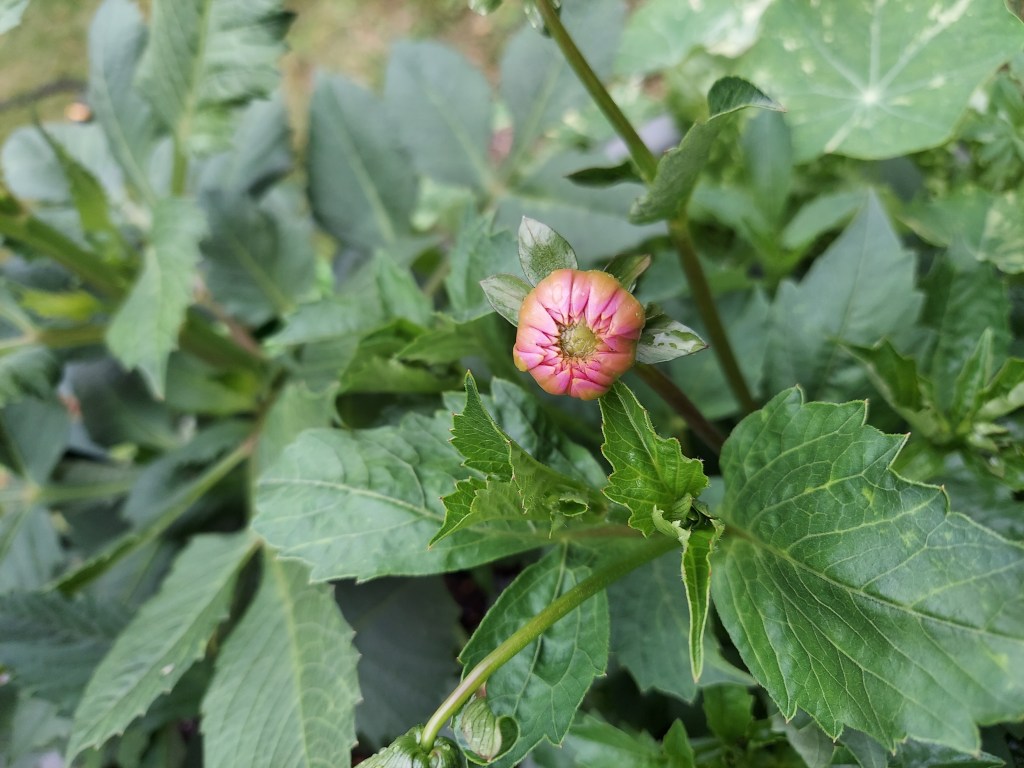
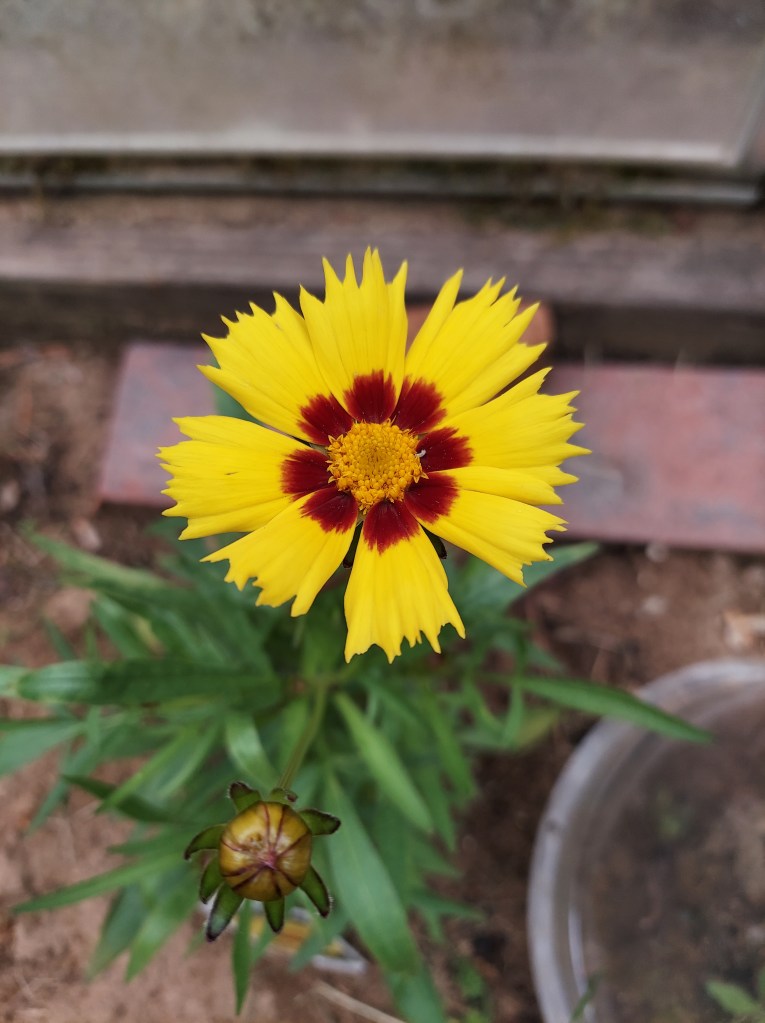
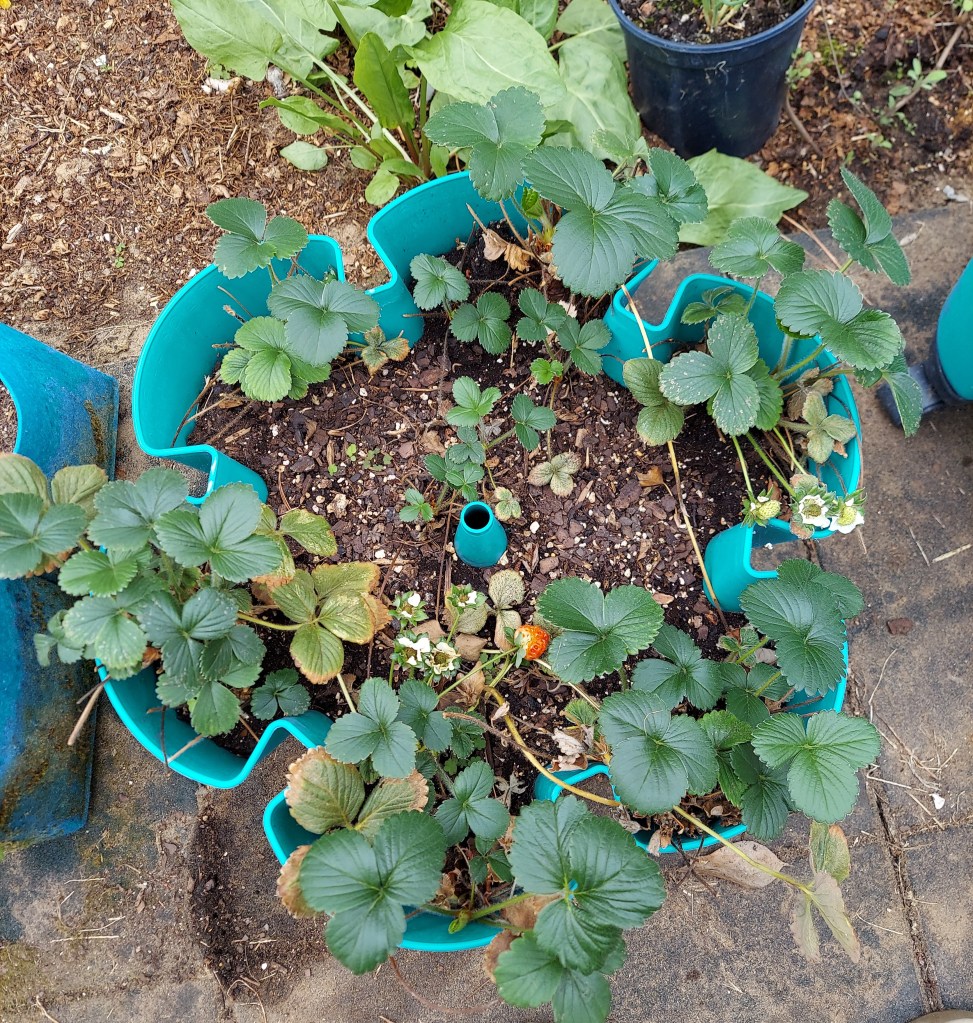
The new cut flower bed was a highlight of the season. I’ve cut over 100 dahlia flowers from just 7 plants. The bed is overflowing with marigolds, cosmos, and nasturtiums as well. I will need to re-think staking for next year as most of the dahlia’s ended up flopping over the edges and growing sideways. I didn’t know how tall and thick they would get. Dahlias are not winter hardy, so the tubers will not survive if left in the ground; they are not a bulb like tulips. I should be able to dig up and save a bunch of tubers to replant next year. I will do that after the frost kills off the plants, but before the ground freezes.
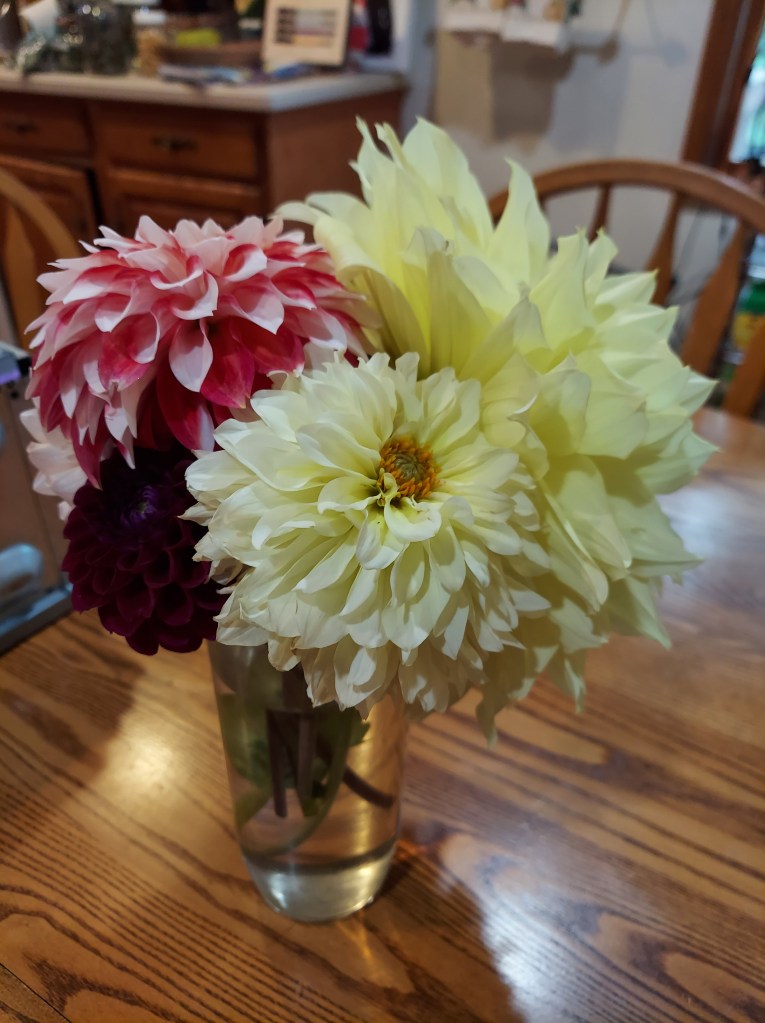
There were several days when I cut 10 or more flowers and had to get out a second vase to display them on the kitchen table.
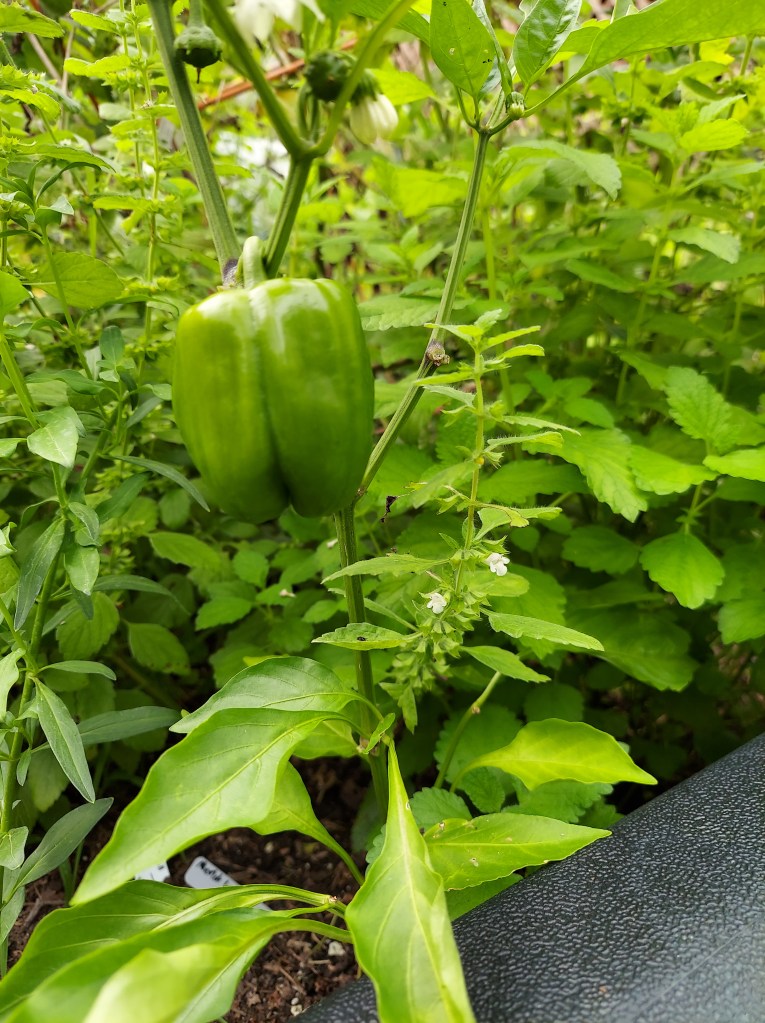
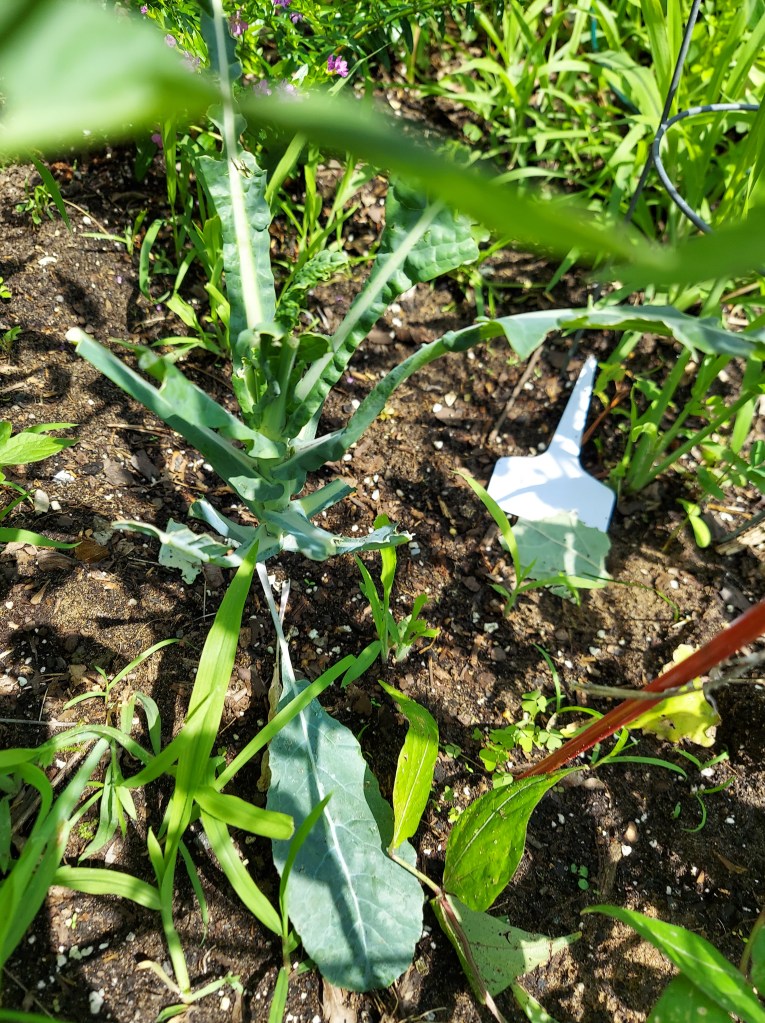
The pepper plants were very slow to grow this season, even with daily watering from the sprinklers. I finally got a few small bell peppers in late August. I’ve been harvesting most of them green to try and get the plants to grow more.

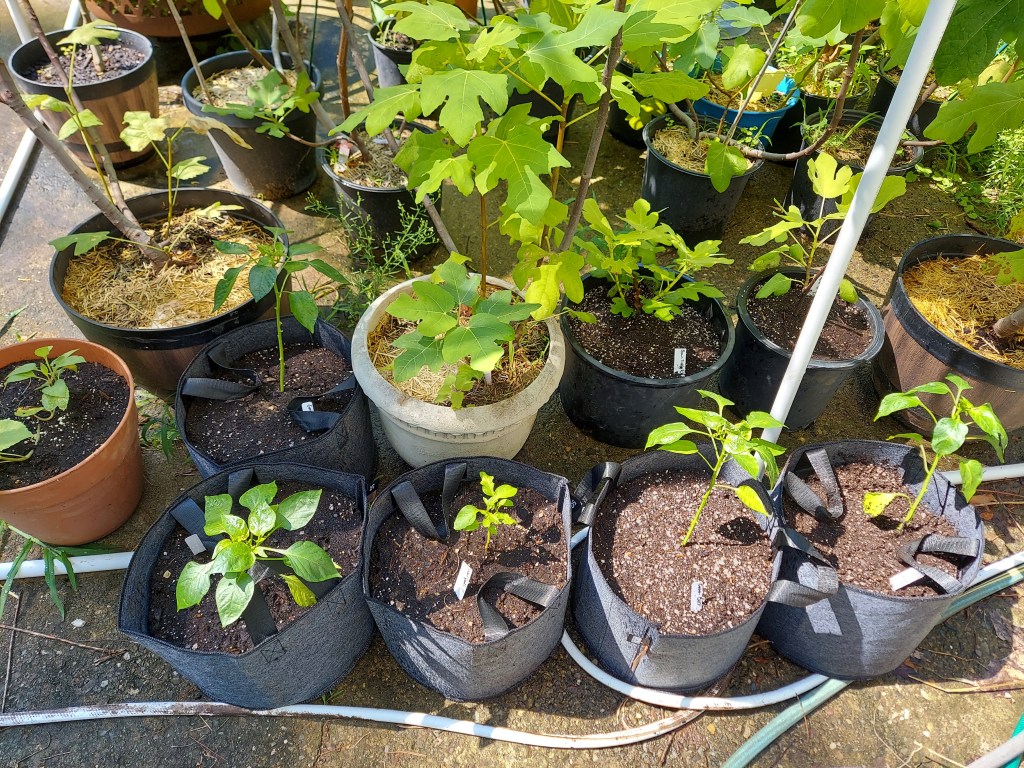
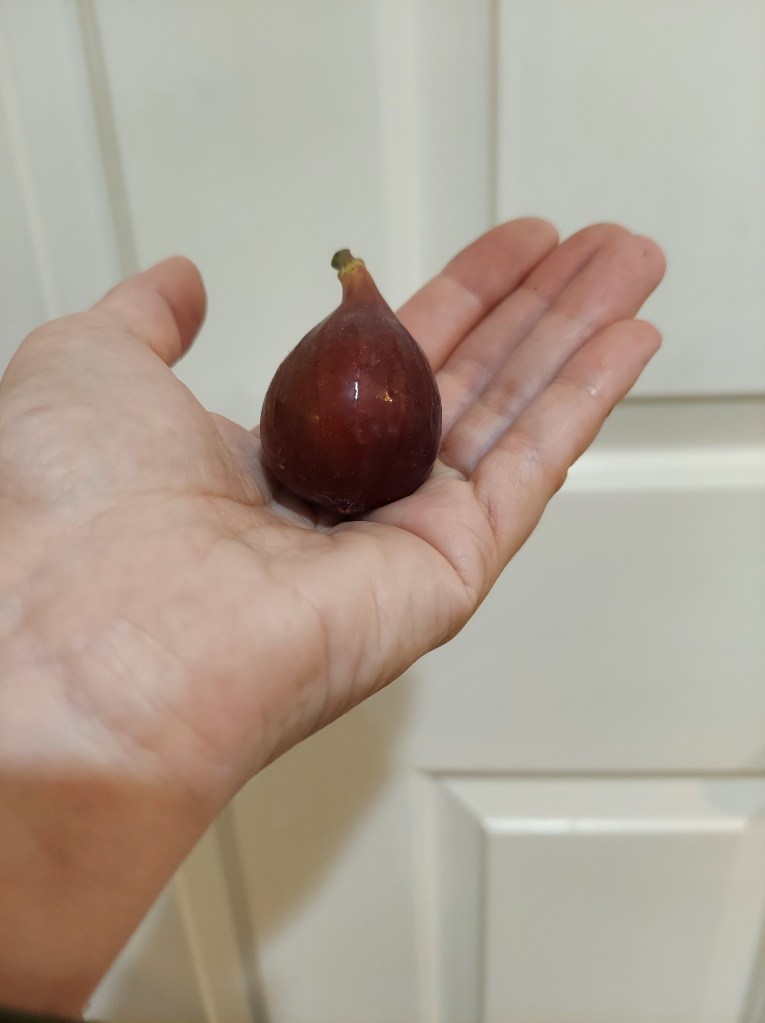
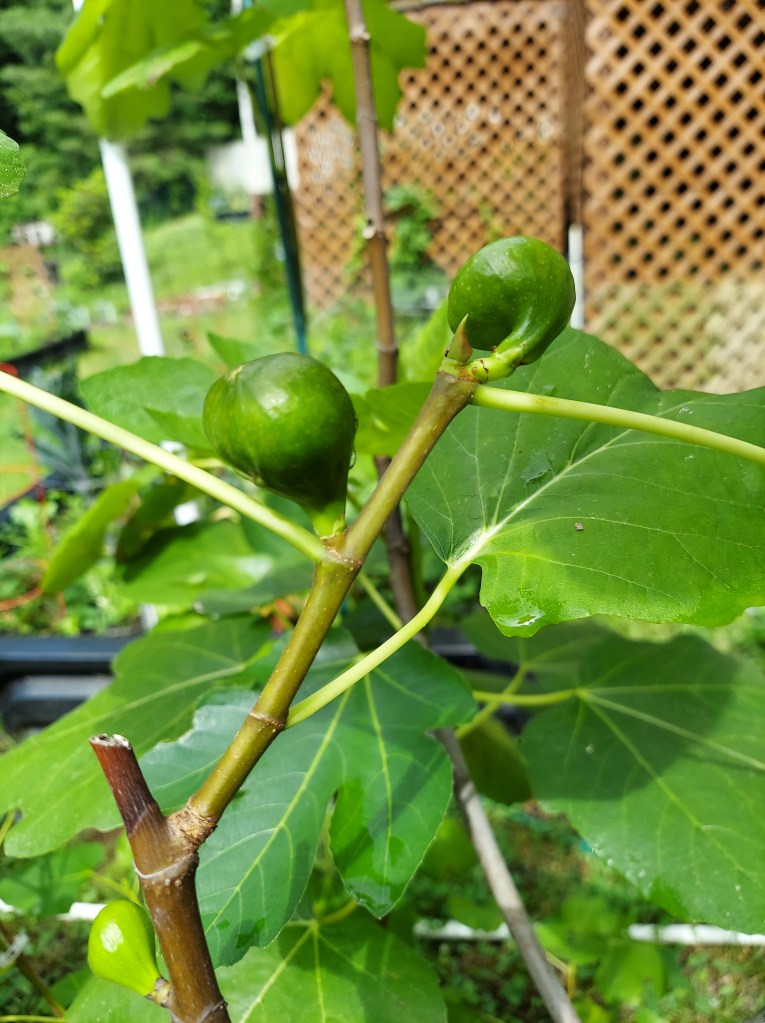
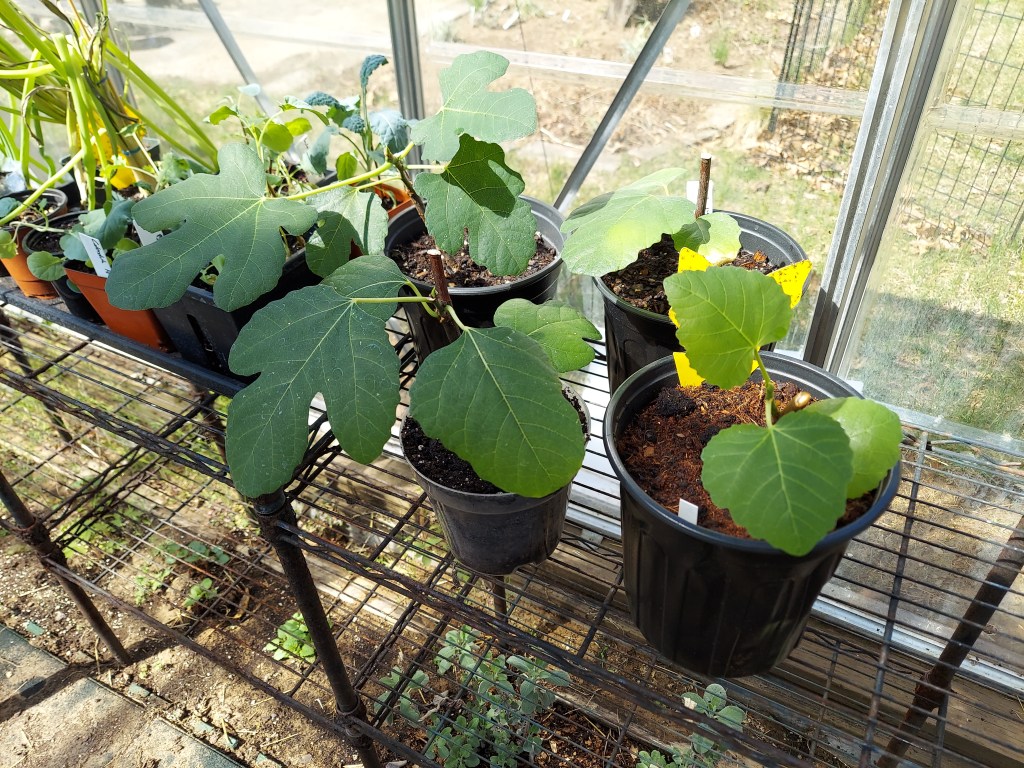
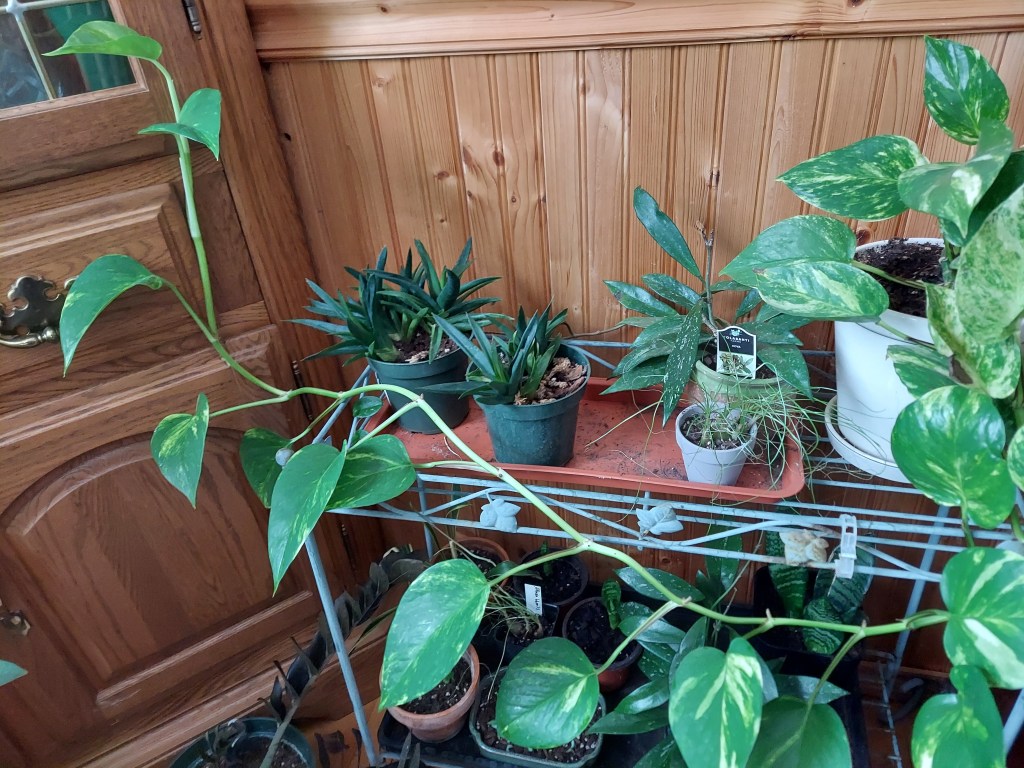
The Chicago figs started ripening in August, but the Green Ischia are slower. I have harvested about a pound of Chicago so far. I’ve sold several of my propagated fig trees from last winter, which is good. I still have quite a few and I might keep them in the basement. I will mostly likely try to propagate whatever branches I cut off of the mature trees this fall, but it would be good to have a few established small trees as well.
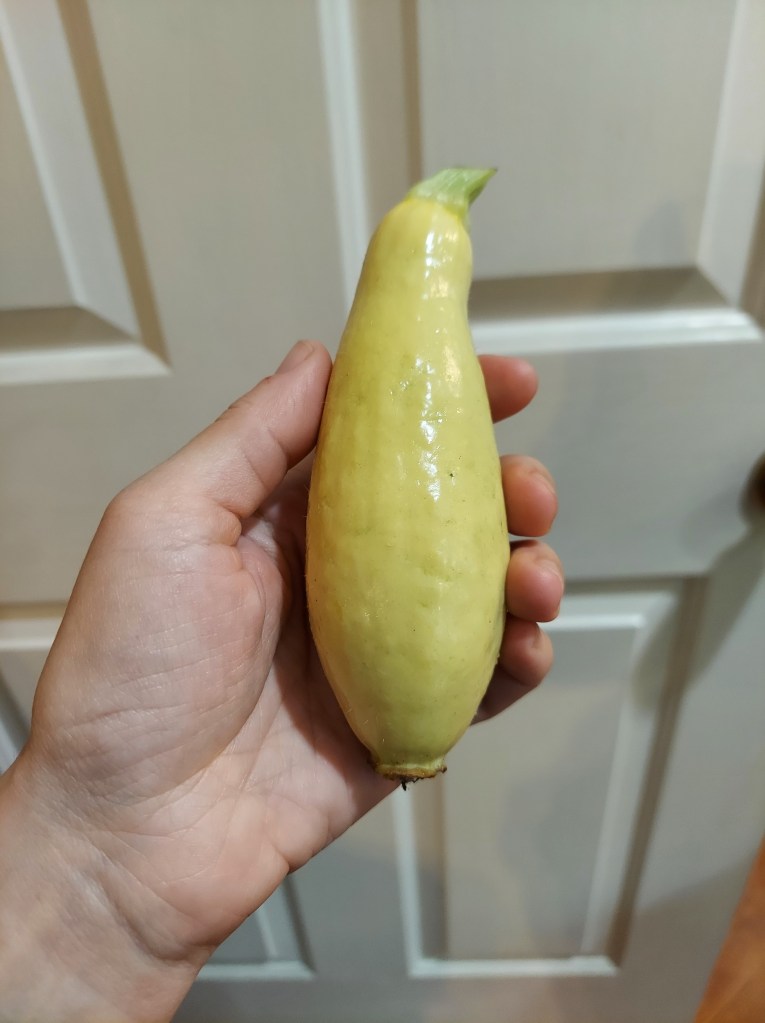
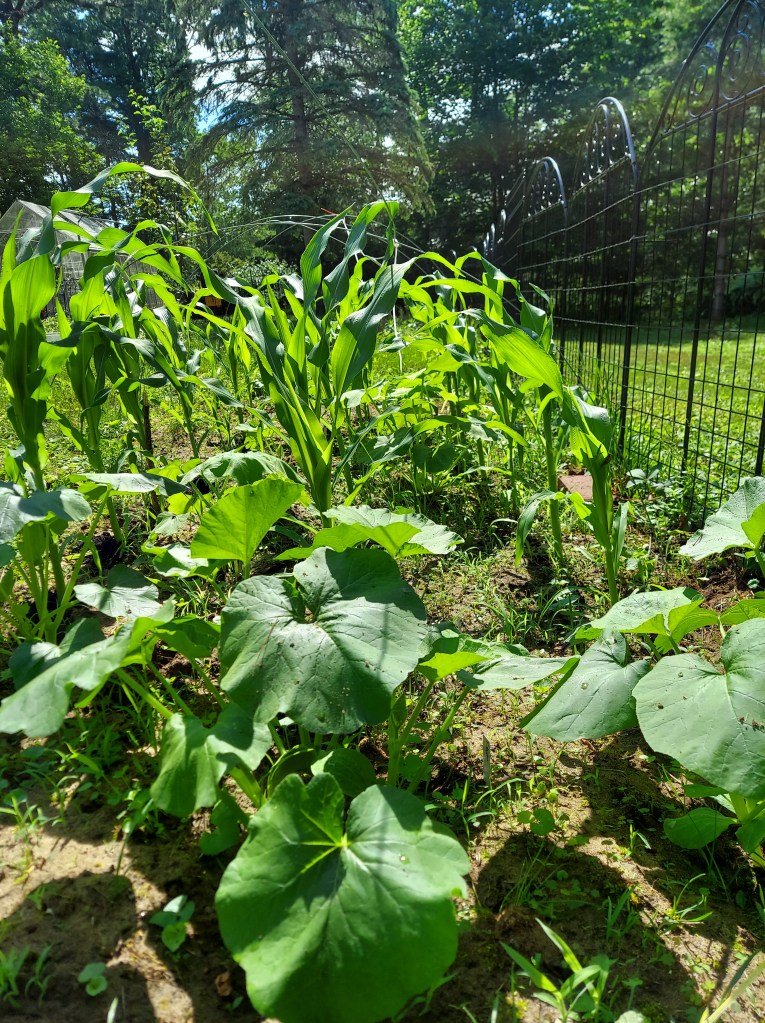
Most of the squash plants were destroyed by the woodchuck, but one summer squash plant was spared. I harvested several small ones in August, and we enjoyed them grilled and steamed with meals.
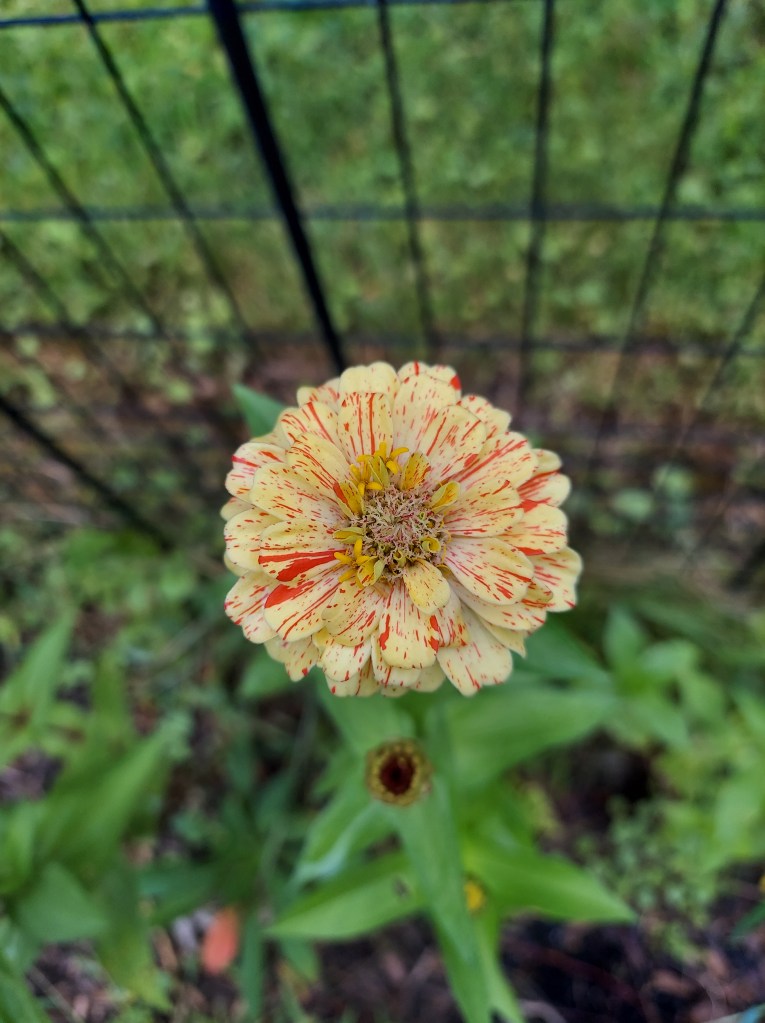
The zinnia plants were small but put out some very pretty flowers. This variety is called candy cane, I direct sowed the seeds in late May. I also have solid orange, pink, and red flowers. They have been added to a few of the kitchen vases alongside the dahlias.