The time has come again to propagate figs from my potted trees. Winter is a very good time to take fig cuttings because the trees have gone dormant and are not focusing on new leafy growth. Fig trees can grow a lot over one year so pruning the trees back can provide plenty of cuttings to propagate from as long as you know what to look for. You want to root slightly older wood that has turned slightly gray or brown and is no longer bright green. I took these cuttings on December 29, and it will be a lengthy process to see which ones develop into full viable baby trees.
When I take cuttings for propagation I make sure each cutting is about 6-8 inches long and has at least 3 nodes (bumps where new growth will develop). I cut just beneath a node on branches that had grown in the past year. I removed branches that were either growing at odd angles, too close to the main trunk if they came directly from the soil, or growing inward towards the center of the tree.
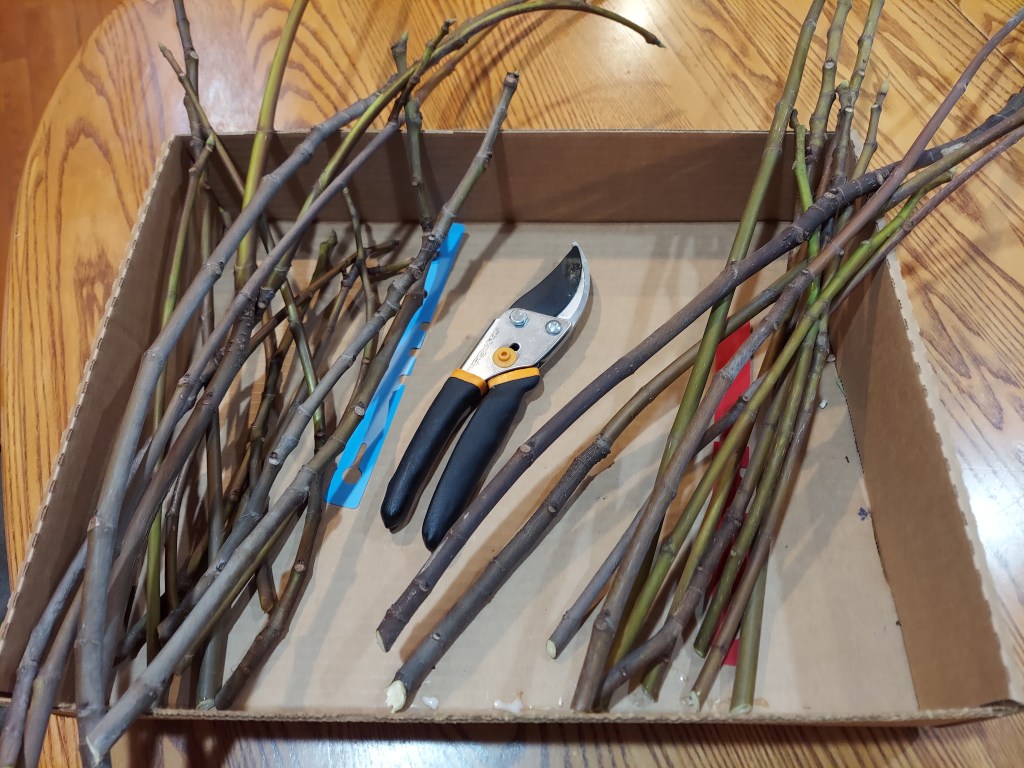
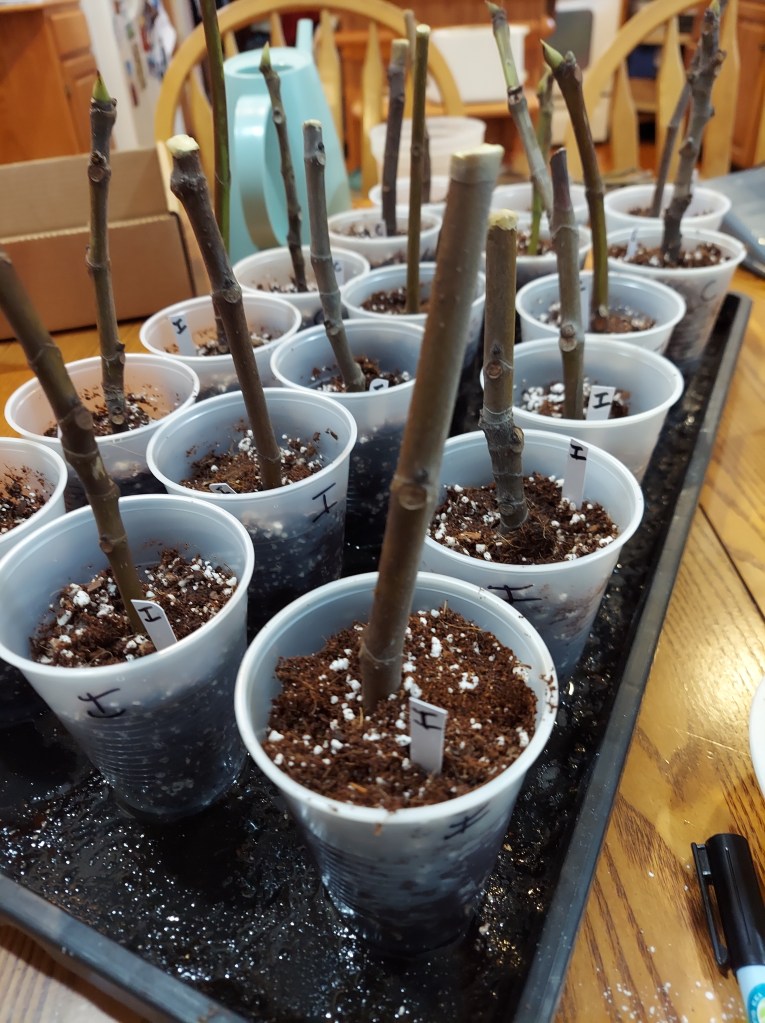
Since I have two types of mature trees, I marked each type with a colored tag so that I could tell them apart. Green Ischia are on the left, Chicago hardy are on the right. Once I cut the branches off the trees I took them up to the kitchen to get them started. I decided to do three different methods of propagation since I had about 60 total viable cuttings. I put about a dozen in a cup of water to see how well they handled the propagation method that required the least amount of work.
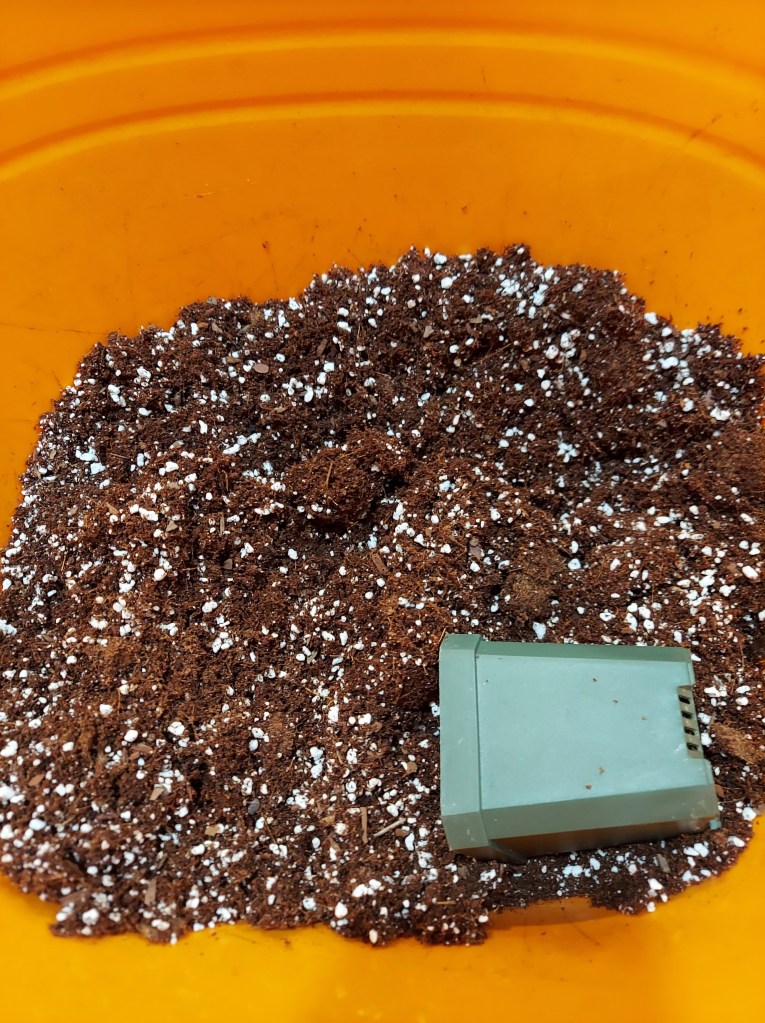
Before I cut the figs I made up my preferred soil mix for cuttings approximately half coco coir, one quarter perlite, and one quarter pine bark fines. This provides good drainage. Most of the cuttings went into small plastic cups. I like clear cups because then I can monitor the moisture level and I can watch the root development.
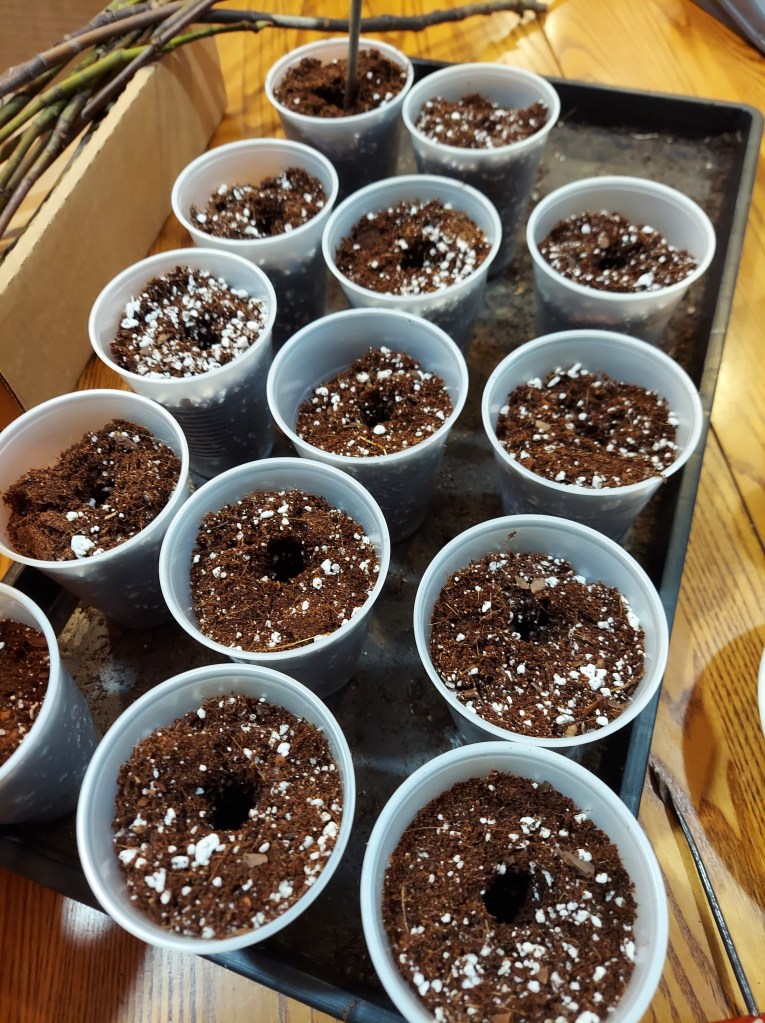
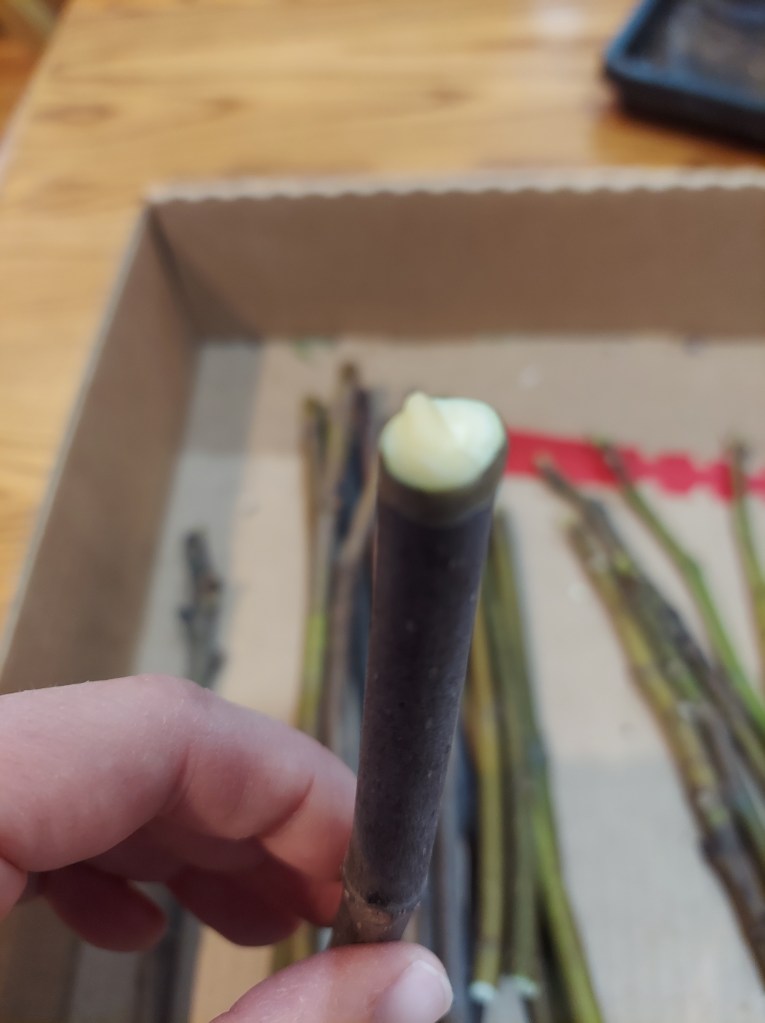
Cups of growing medium all set to go. Once I cut all the branches down to the appropriate size I dipped the tops in some old candle wax. This helps to seal over the cut and keep moisture in.
I cut little slits on the bottom inch or two of each cutting that was going in the potting mix. I then used a paintbrush to dust them with rooting powder. This step helps provide a bit more surface area for roots to develop.
One tray of figs all ready to go on the heat mat. I labeled the cups as well in case the little plastic labels fell out. I put 18 cuttings in a plastic tote in the upstairs hallway. I have alternated between opening and closing the lid in order to keep the humidity high while also providing some airflow. I checked the moisture level and have only had to water once in the past 10 days.
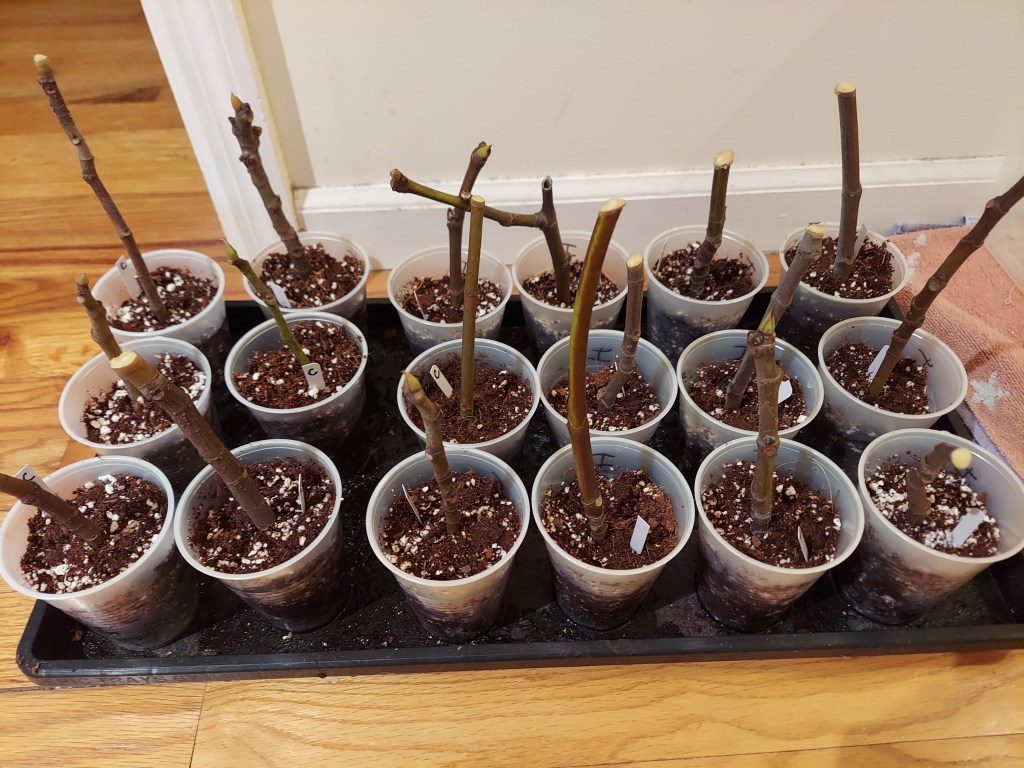
For the first few weeks they do not get any additional light in the hallway. I want the sticks to focus on root growth for as long as possible. If they leaf out too quickly, they can cannibalize themselves by diverting all the nutrients to top grown and not to roots. The hallway gets very indirect sunlight.
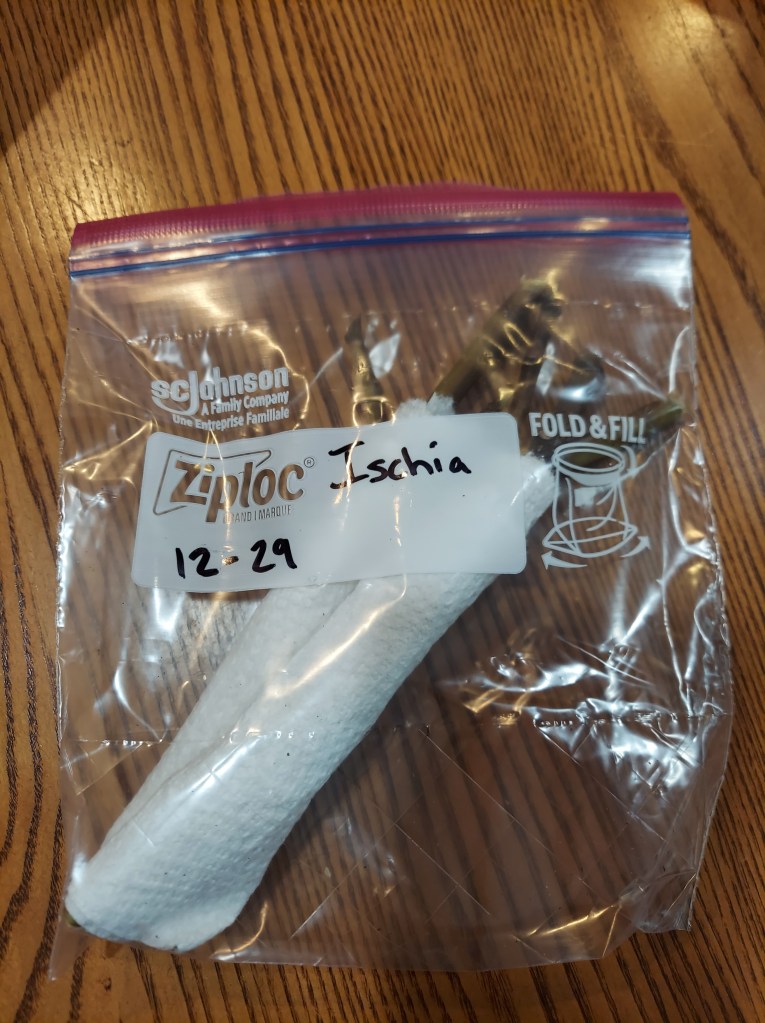
The rest of the cuttings went in plastic bags wrapped in damp paper towel. I have had good success with this method in the past, the difficulty lies in keeping them just damp enough while preventing mold from forming. I left the tops open and checked back every couple of days. I added a slight amount of water whenever needed.
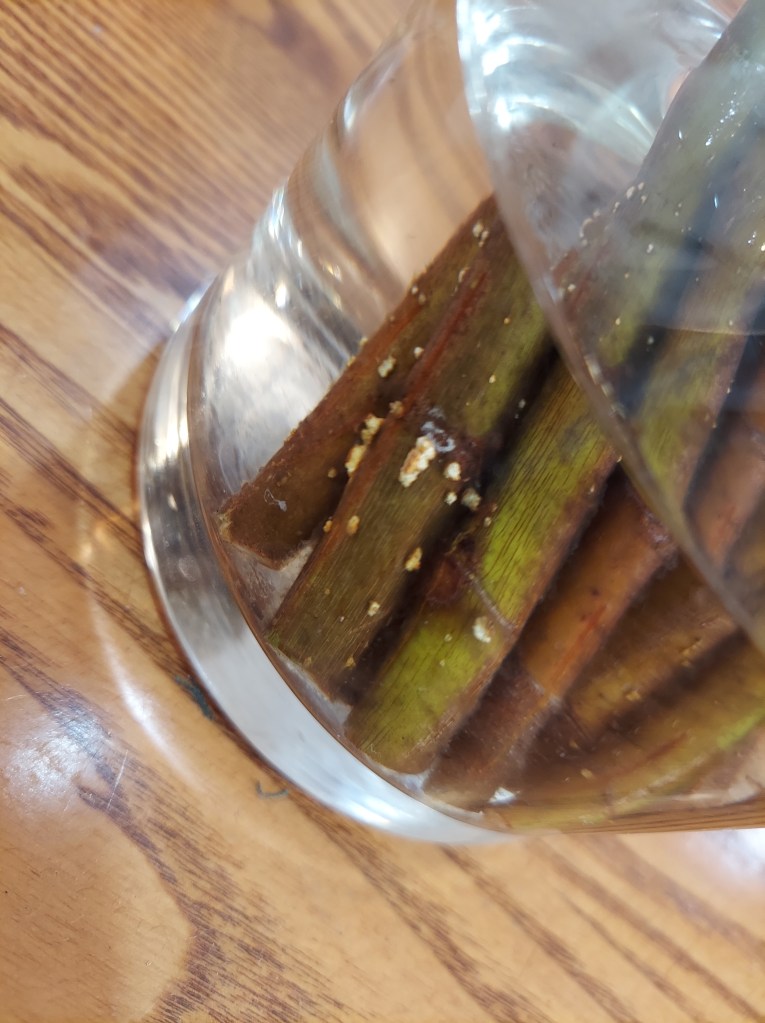
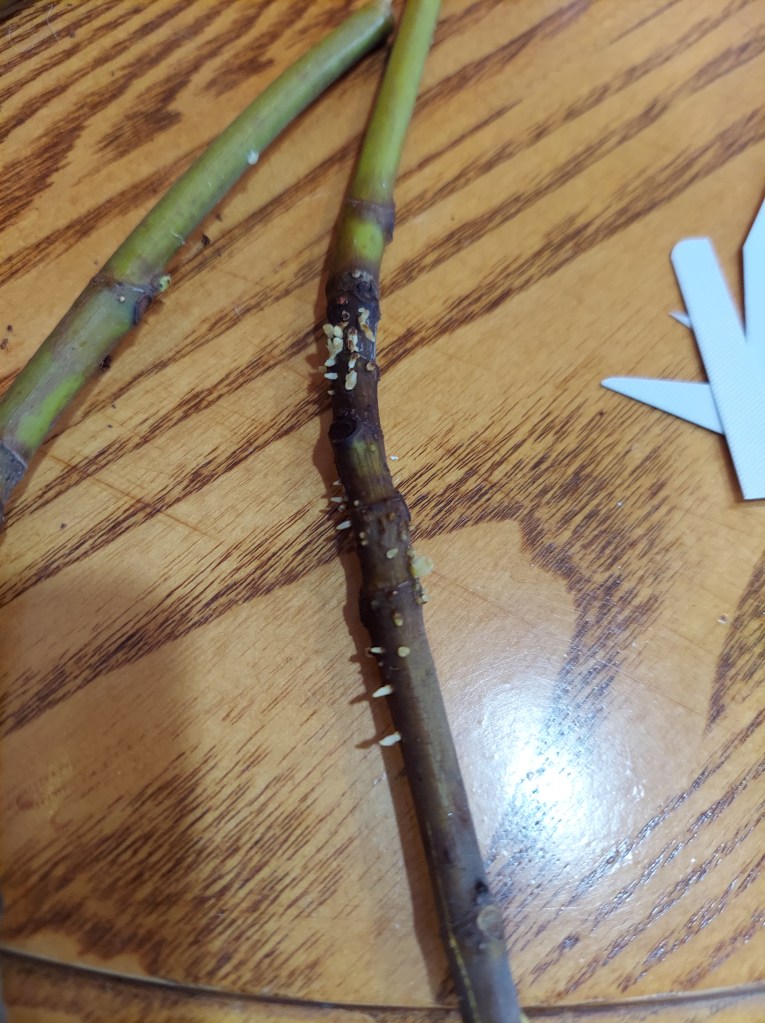
Water propagated cuttings, the white dots are the beginning of root formation. Some of them are developing along the cuts that I made at the base of the stems.
As of January 9, several of the cuttings in both the water and the paper towel method had started to show roots. It was time to move them into soil. I carefully unwrapped the paper towels and checked each batch of cuttings. In total I found 6 that had started to root, or were budding out and needed to focus on root growth.
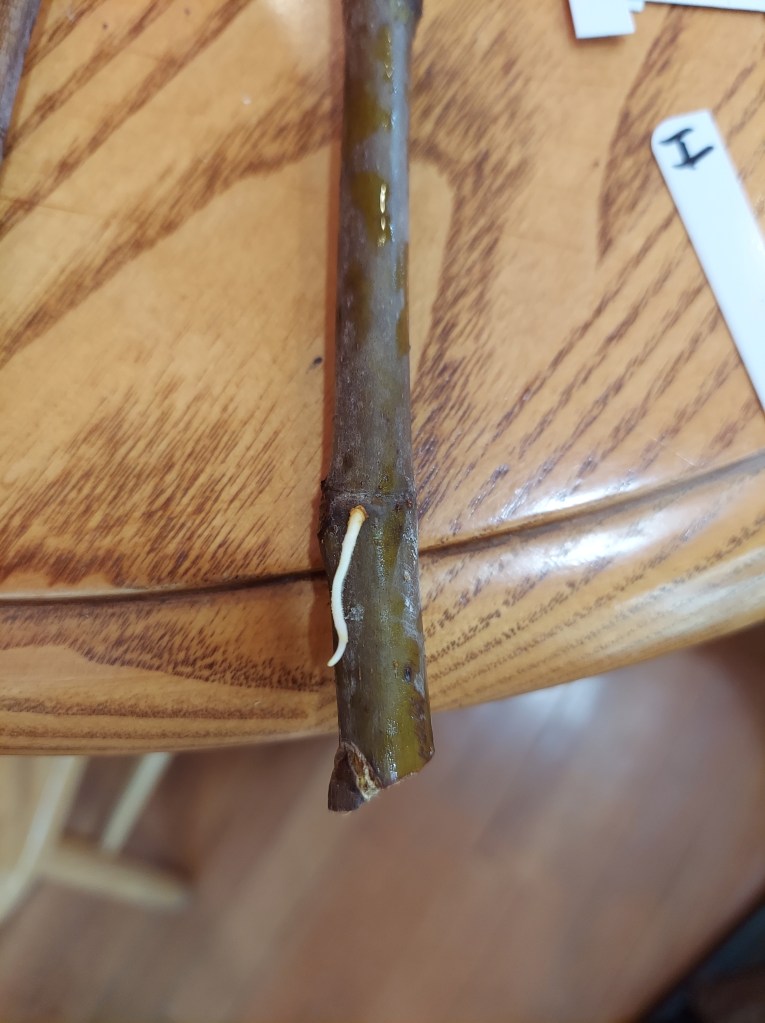
This cutting had the most developed root out of all the paper towel cuttings. It’s about an inch long and definitely ready to be moved to soil. I utilized the same method as before for this follow up round of clear plastic cups inside a small tote.
A second viable cutting with lots of potential. It has small rootlets forming all down the length. I had to angle it to try and get as much as possible below the soil line of the small cup.
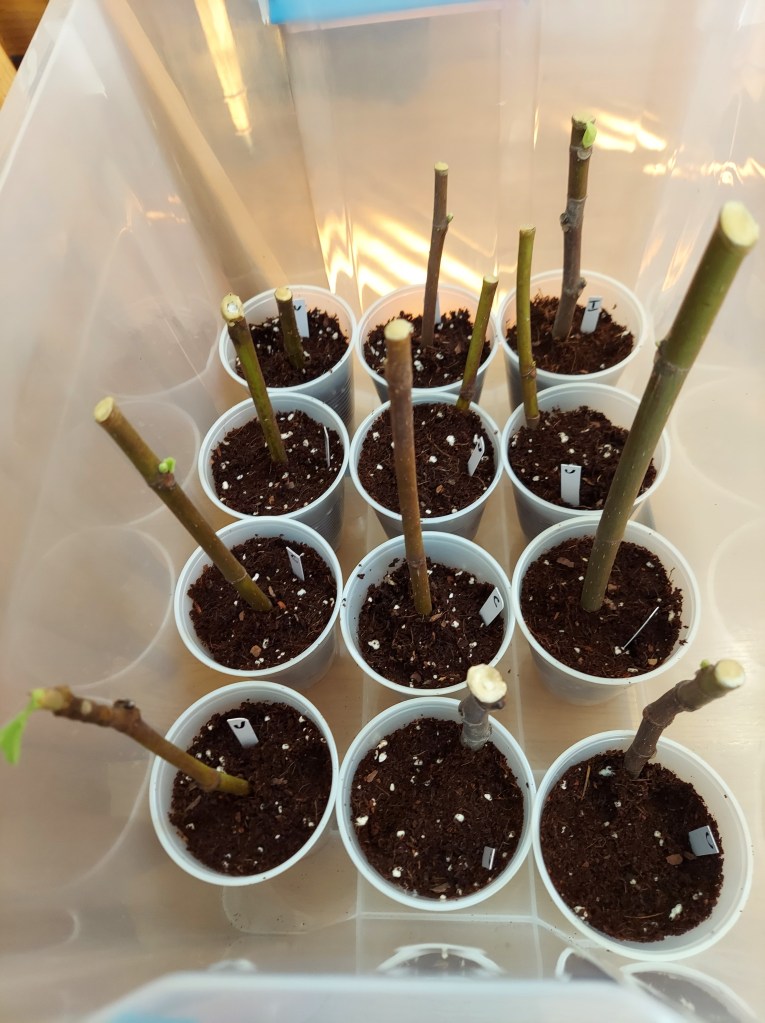
All total I potted 12 cuttings, 6 from water and 6 from paper towel. A few were budding and one had a full leaf unfurled, hopefully they make it.
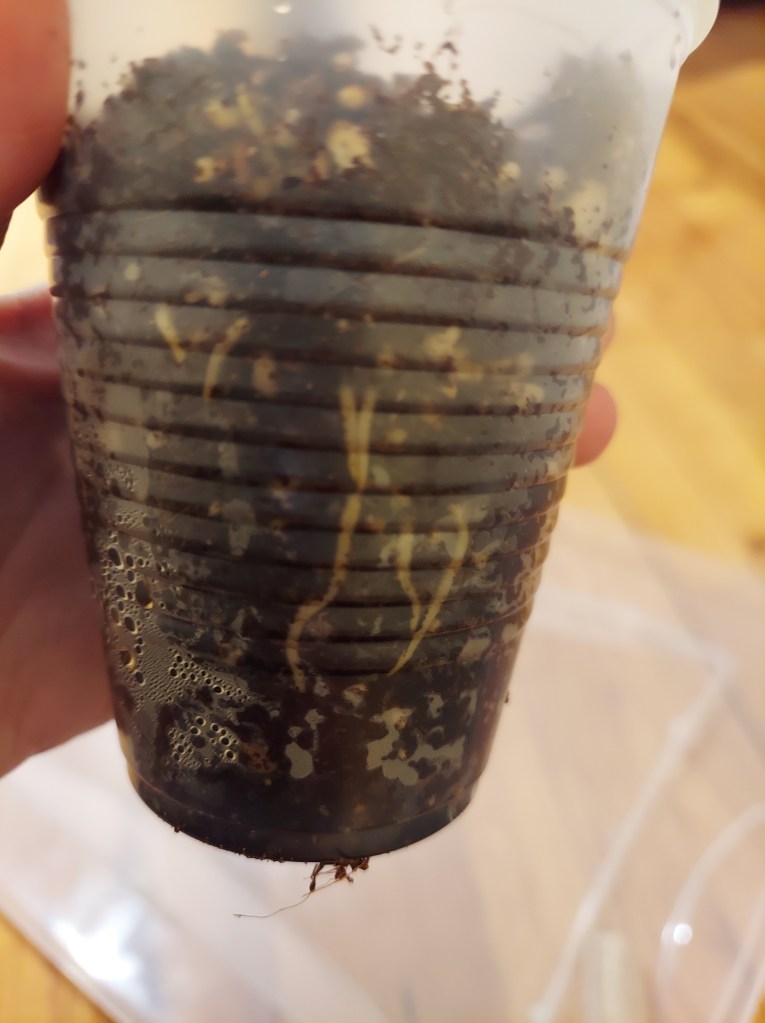
I also checked on the cuttings in the larger tote that just went straight into soil. Happily 3 of them already have visible roots on the edge of their cups after less than two weeks of growth.

Can’t wait to see how many more of them show visible root growth over the next couple of weeks!

Leave a comment